
How To Bottle Beer at Home

- Today’s topic: A walk-through of the whole bottling process from start to finish.
- The Kitchn’s Beer School: 20 lessons, 7 assignments to brew your first 1-gallon batch of beer.
- Sign up & see all the assignments! The Kitchn’s Beer School
If you’ve been following along with our Beer School timeline, you’ll still be a little more than a week away from bottling your first batch at this point. Let’s take advantage of the downtime to make sure you’re all set for what happens next. Today, we’ll go through the whole process of getting your beer into bottles — the final step before actually getting to drink it!

How Does Bottling Work?
The goal is to get your beer into bottles with a minimum of fuss, mess, or stress. First off, make sure everything is sanitized, from the bottle filler to the bottles themselves. The risk of infection is much less now than at the start of brewing since the alcohol in the beer does a good job of protecting it at this point, but still — no need to take chances.
Here’s a quick summary of what happens next: Mix the priming sugar and siphon the beer on top of it — this makes sure the sugar is evenly mixed with the beer. It also gets the beer off the sediment in the jug so there’s less risk that you’ll transfer it into the bottles. Next, attach the bottle filler to your siphon and siphon the primed beer into individual bottles. Cap the bottles and you’re done. Doesn’t sound so bad, right? Below is a detailed step-by-step guide through the whole process.
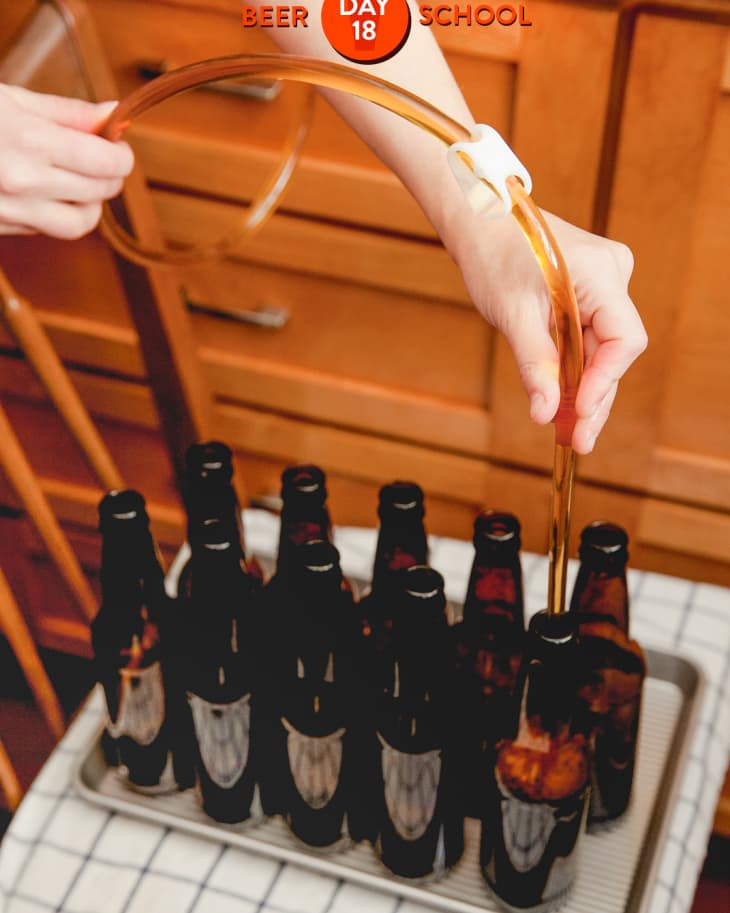
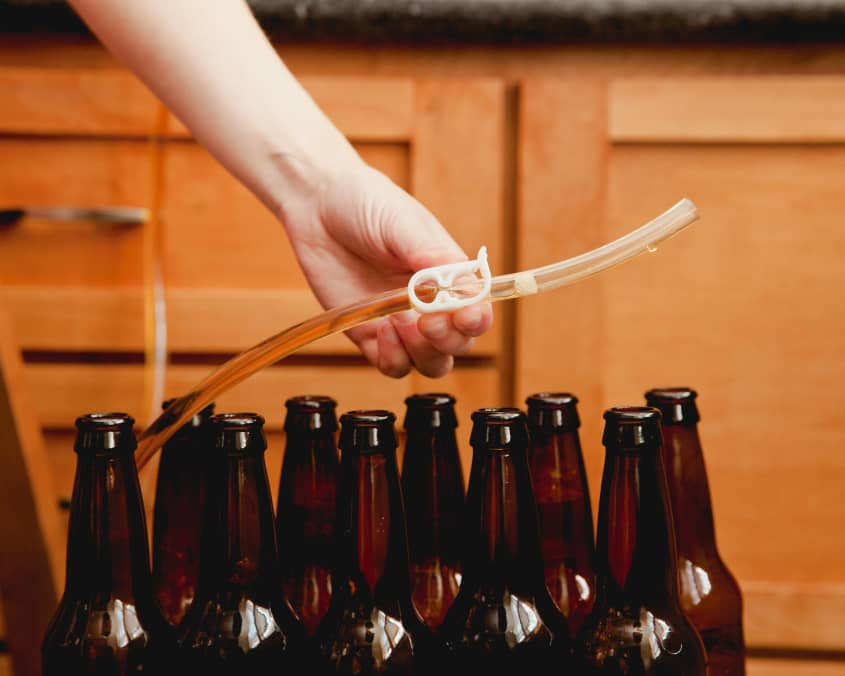
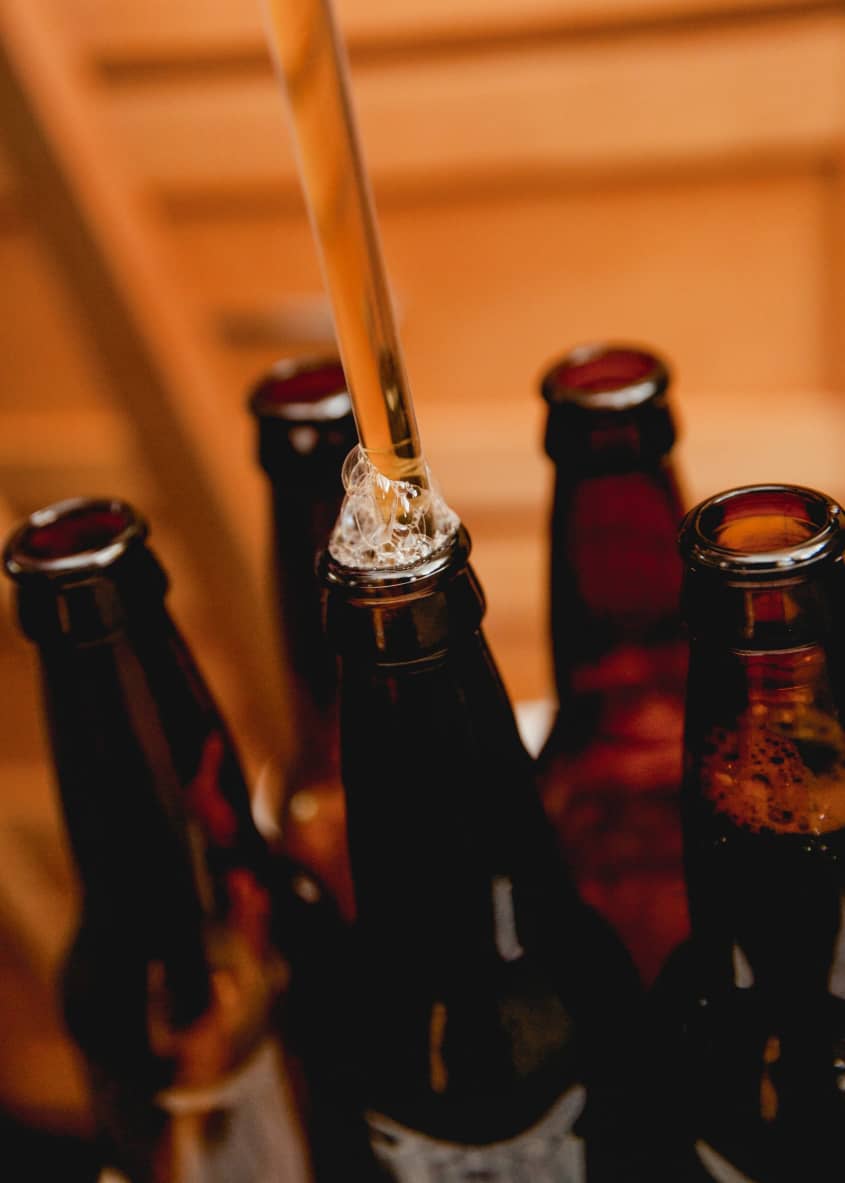
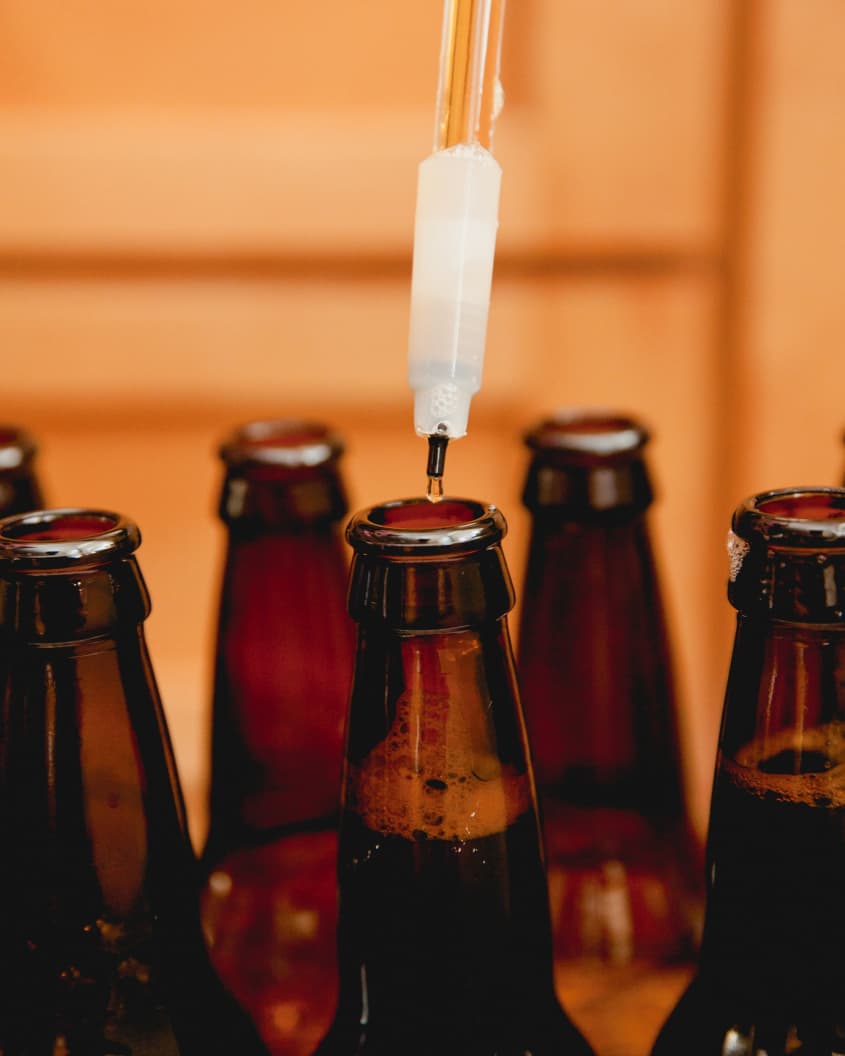
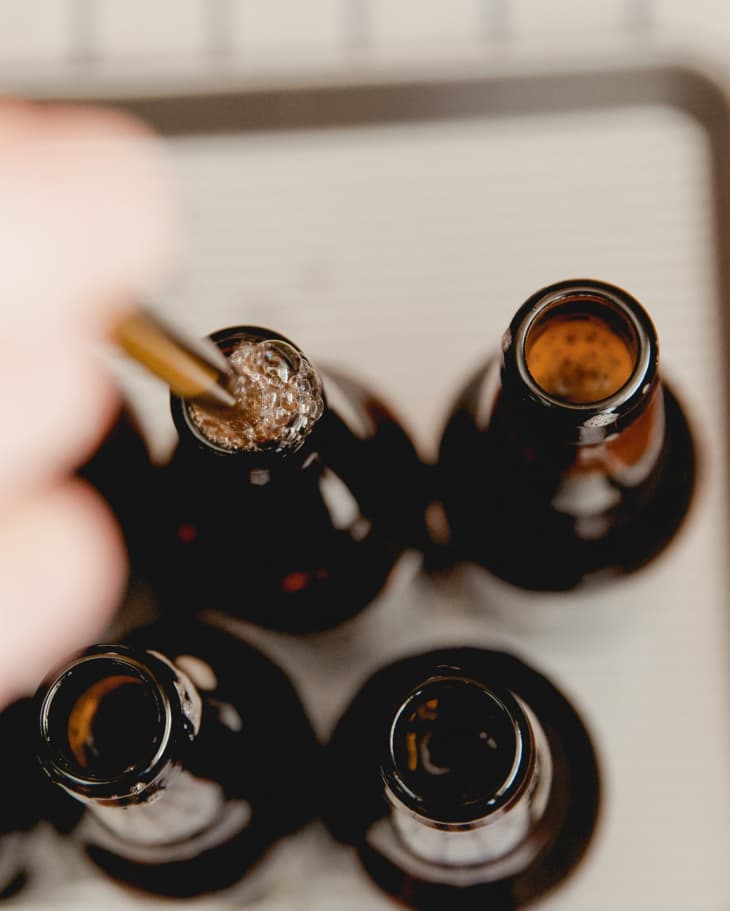
The bottle filler is a very handy gadget, by the way. It’s spring-loaded at the tip so that beer flows through only when the tip is pressed against the bottom. Lift the bottle filler and the flow of beer stops. Keep filling the bottles until the beer gets to the lip of the bottle; when you lift the bottle filler out of the bottle, it will leave exactly the right amount of headroom that you need to properly carbonate the beer.
Be careful of splashing too much while you’re bottling the beer. This can introduce oxygen and give the beer a bit of an oxidized flavor. Some splashing is unavoidable, of course — just be aware of what you’re doing and do the best you can. Even with a few splashes, your beer will be fine.


What to Do: How to Bottle Your Homebrew
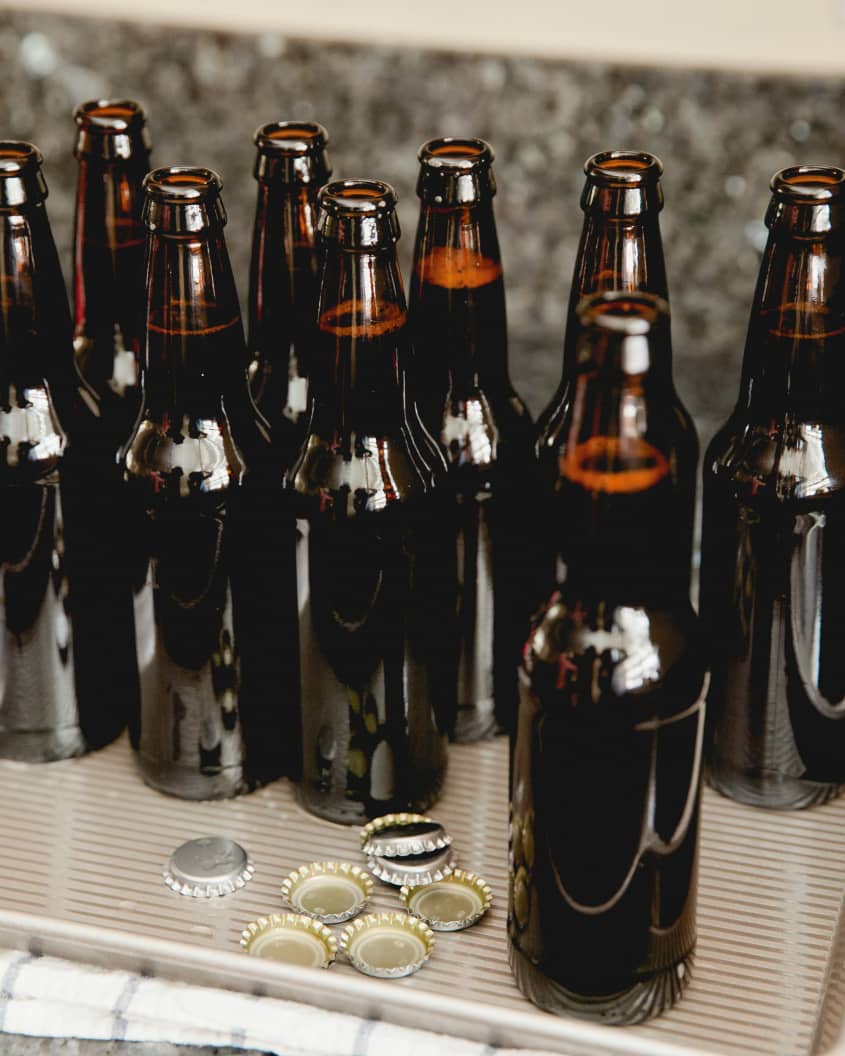
You’ll get 9 to 10 bottles of beer from your 1-gallon batch of homebrew
What You Need
1-gallon batch of beer, ready to be bottled
.80 ounces (22 grams) corn sugar, or equivalent
Your fermentation bucket or stockpot
Measuring cups
Autosiphon
Tubing
Hose clamp
Bottle filler
10 12-ounce bottles
10 bottle caps
Bottle capper
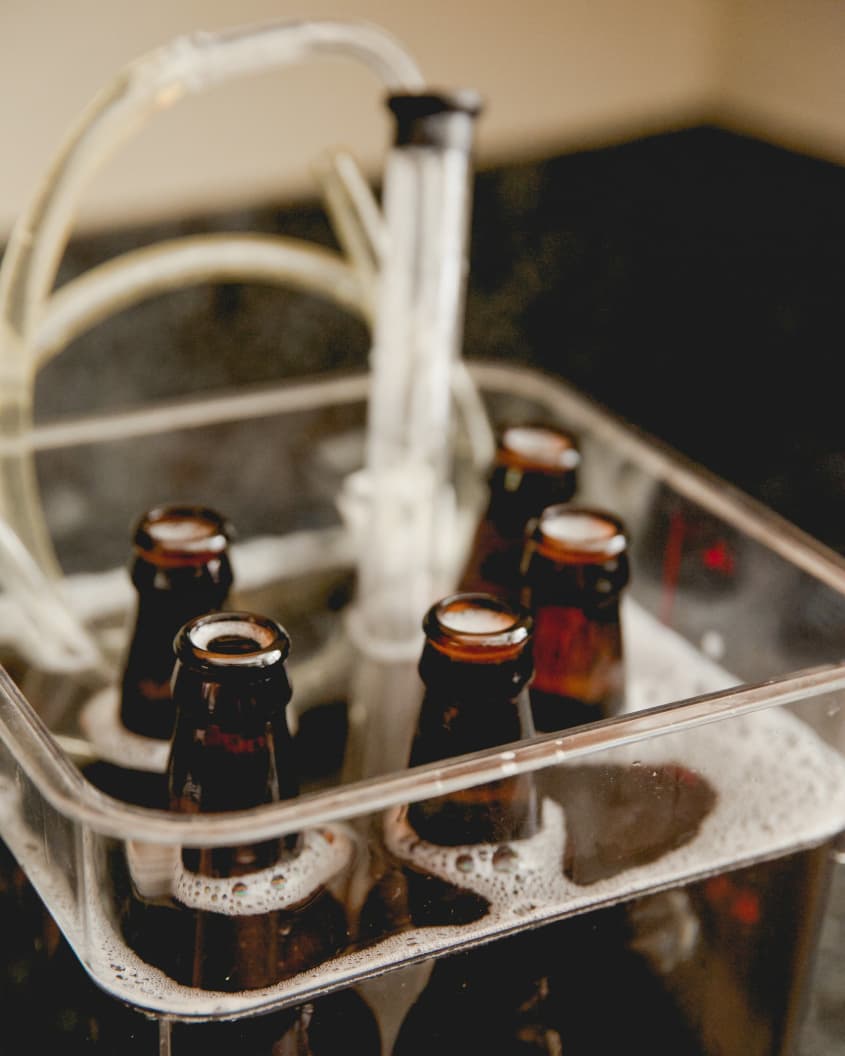
- Sanitize all your equipment: Sanitize everything that the beer will touch, including the fermentation bucket or stockpot and the bottle caps. As the bottles are sanitized, you can turn them upside-down in a dish drainer or on the shelf in your dishwasher to drain.
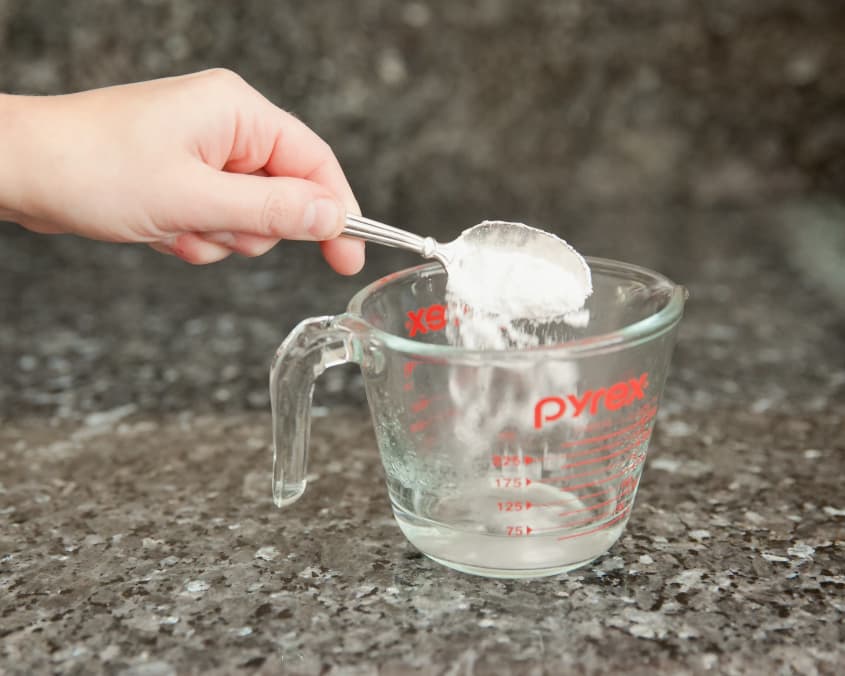
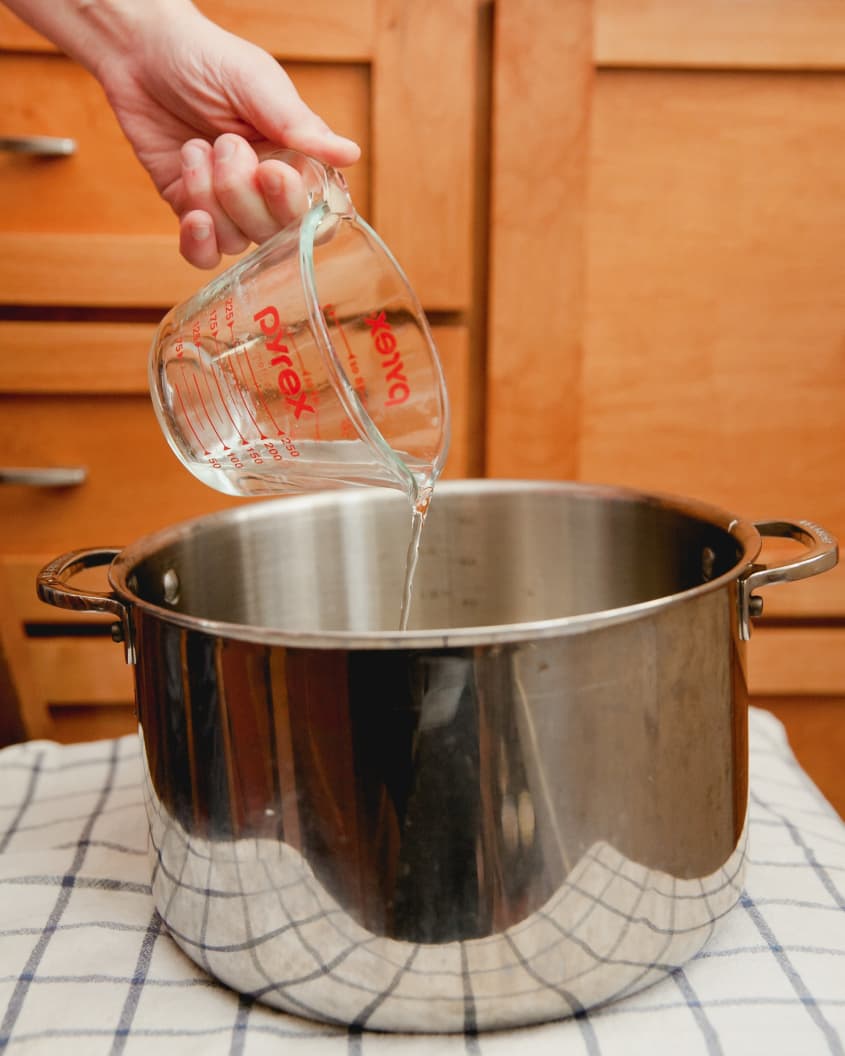
- Prepare the priming sugar: Bring 1/4 cup of water to a boil, add the sugar, and stir to dissolve. Pour the sugar water into the sanitized bucket or stockpot and let it cool to room temperature (this should only take a few minutes).
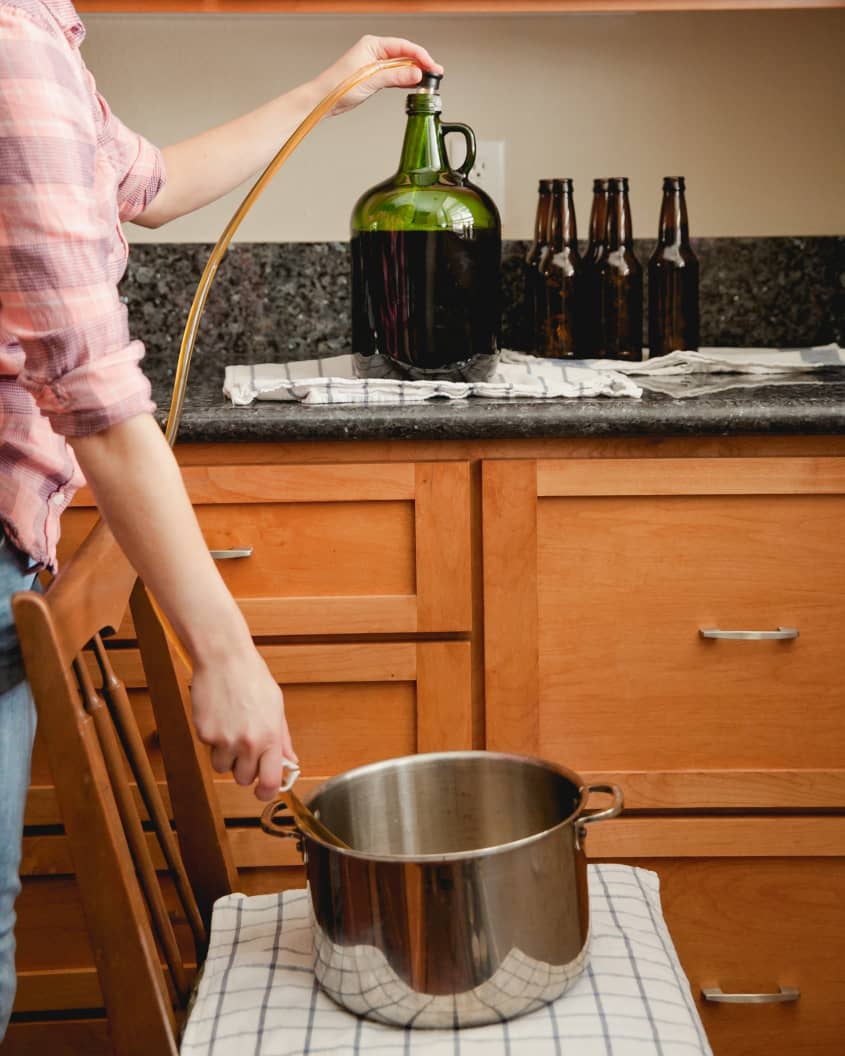
- Mix the beer with the priming sugar: Siphon the beer from the jug into the bucket or stockpot with the priming sugar. Avoid stirring up the sediment at the bottom of the jug as much as possible. (Get detailed siphoning instructions: How To Transfer and Siphon Beer.)
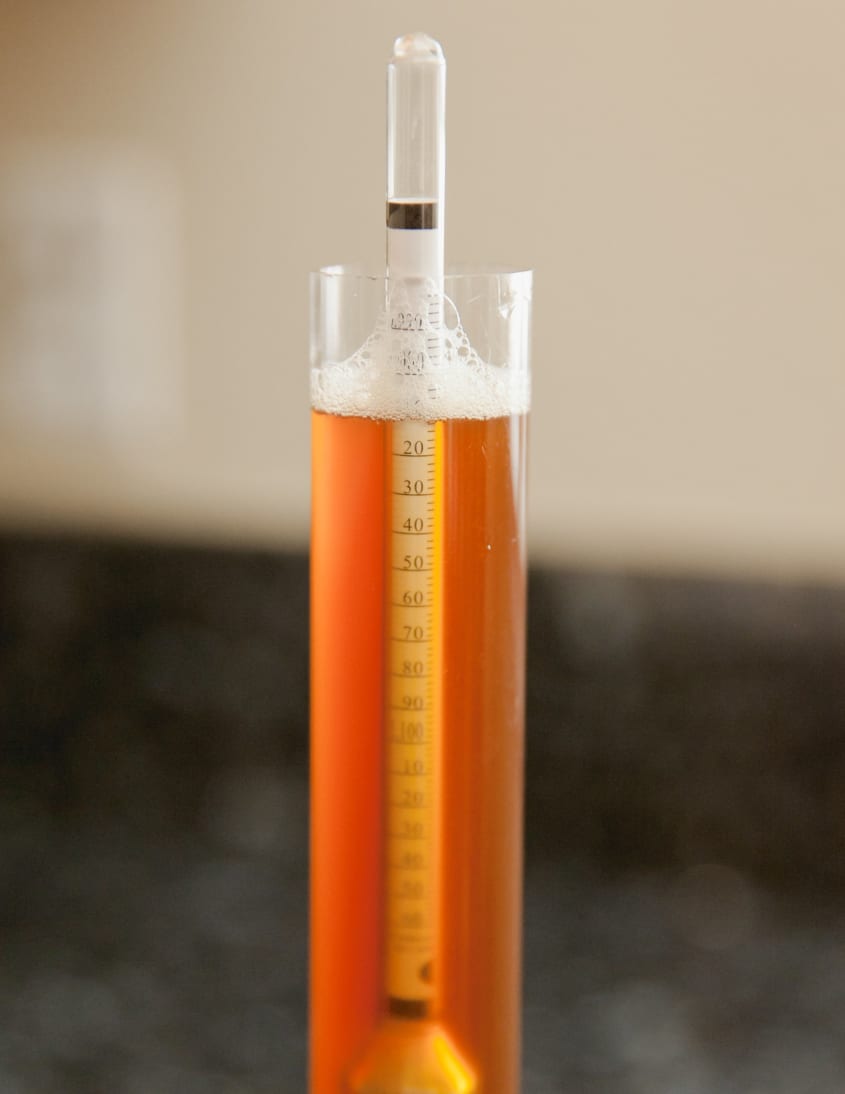
- Take a hydrometer reading: As you’re siphoning, siphon a little beer into a sanitized measuring cup and take a hydrometer reading. This reading will be your final gravity. Use this and the original gravity to calculate the alcohol in your beer. Pour the beer back into the pot — or drink it!
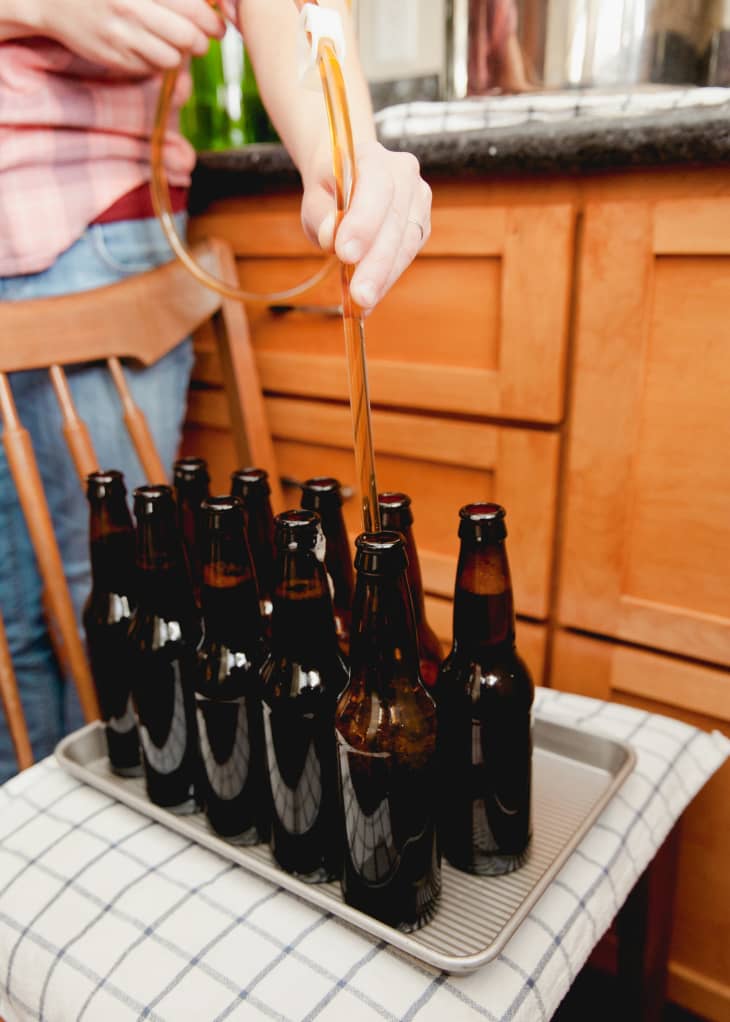
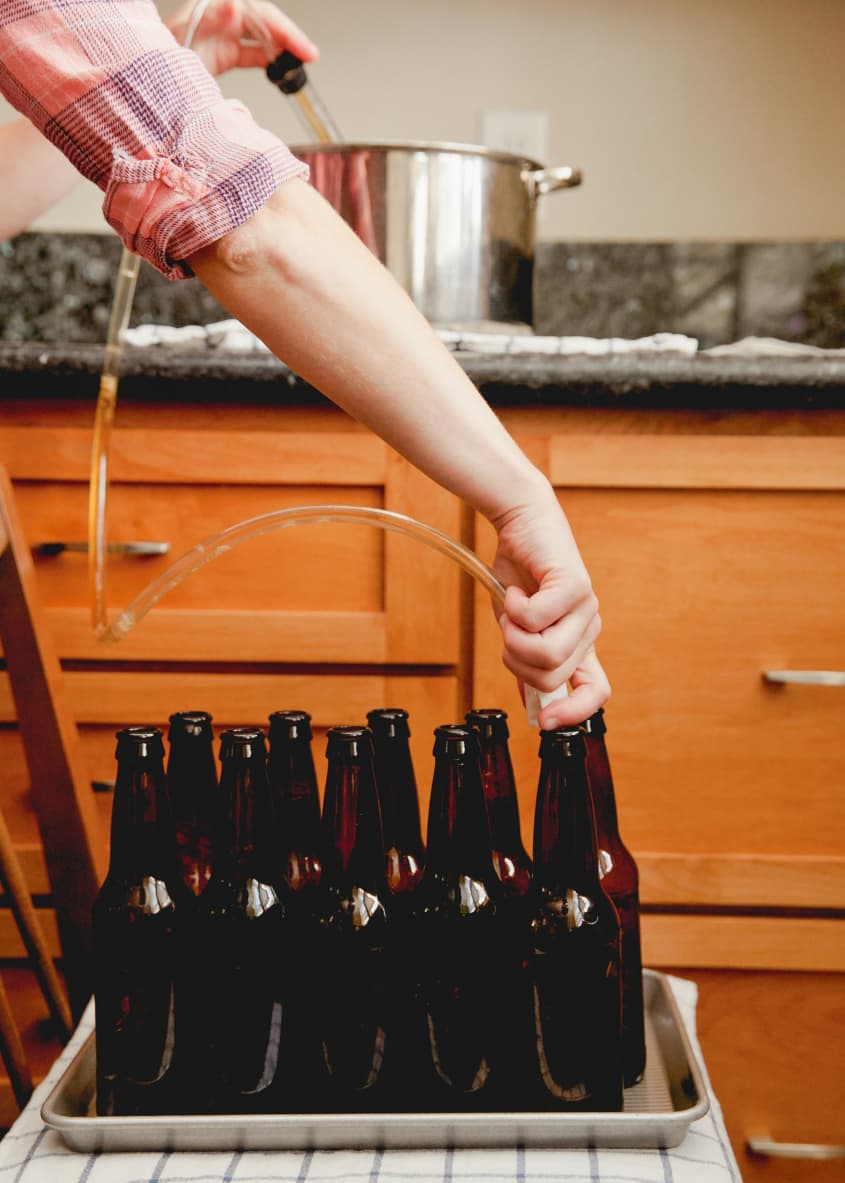
- Prepare for bottling: Move the primed beer to the counter and arrange the sanitized bottles on the chair below. To keep the bottles steady, place them on a baking sheet.
- Assemble the bottle filler and begin siphoning: Place the auto-siphon in the bucket of primed beer and insert the open end of the tube in the first bottle. Pump the auto-siphon to begin siphoning. As soon as beer is flowing, use the hose clamp to tightly close the tube. Fit the bottle filler into the open end of the tube. Insert the bottle filler back in the bottle so the tip presses against the bottom and release the hose clamp. The flow of beer should start again; pump the siphon if needed to help it along.
- Fill the bottles: Fill the bottle until the beer reaches the lip of the bottle. Lift the bottle filler to stop the beer from flowing and move the filler to the next empty bottle. This will leave behind the correct amount of headroom in the bottle. Press the tip of the bottle filler against the bottom of the empty bottle to start the beer flowing again.
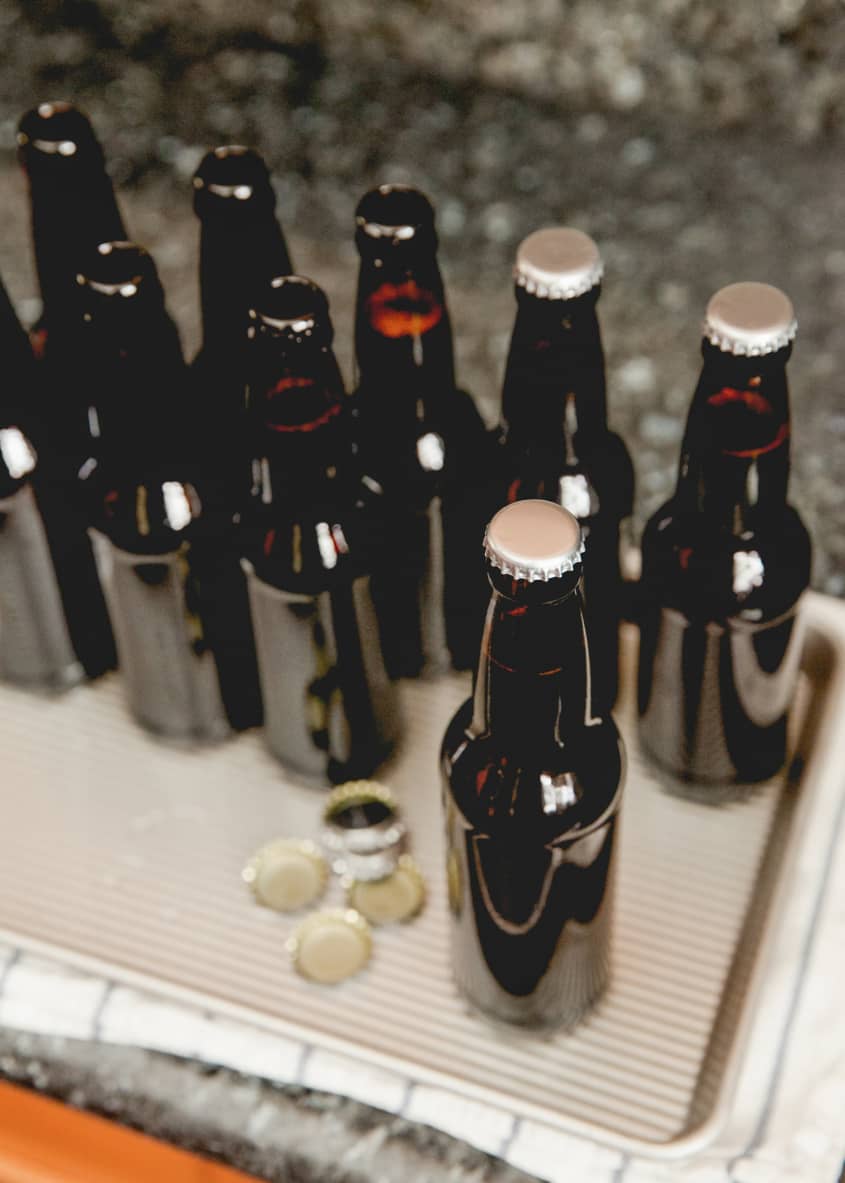
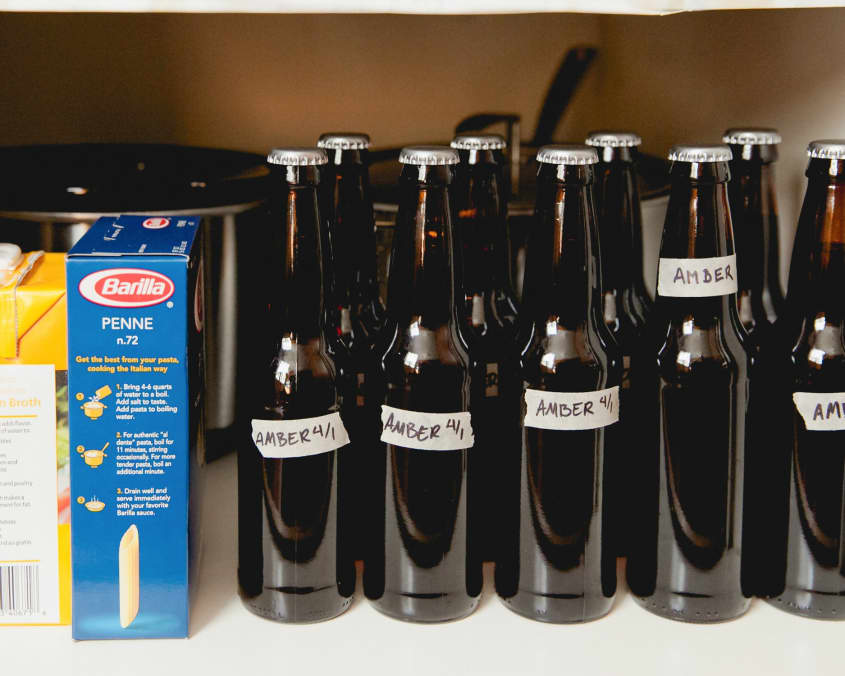
- Cap the bottles: Move the bottles to the counter. Place a sanitized cap over the top of the first bottle. Position the bottle capper over the cap and press down on the “butterfly” sides of the bottle — this presses the crown of the cap down around the lip of the bottle, creating a seal. You don’t need to use much force to do this. Once the cap is crimped, the bottle is capped. Continue capping the remaining bottles.
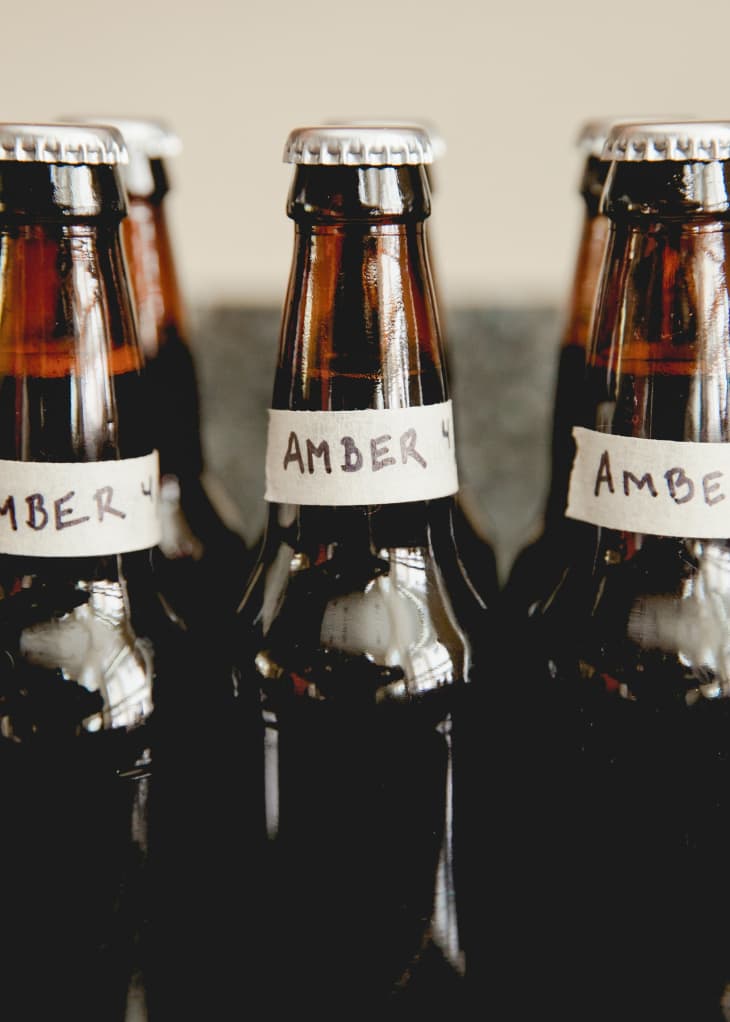
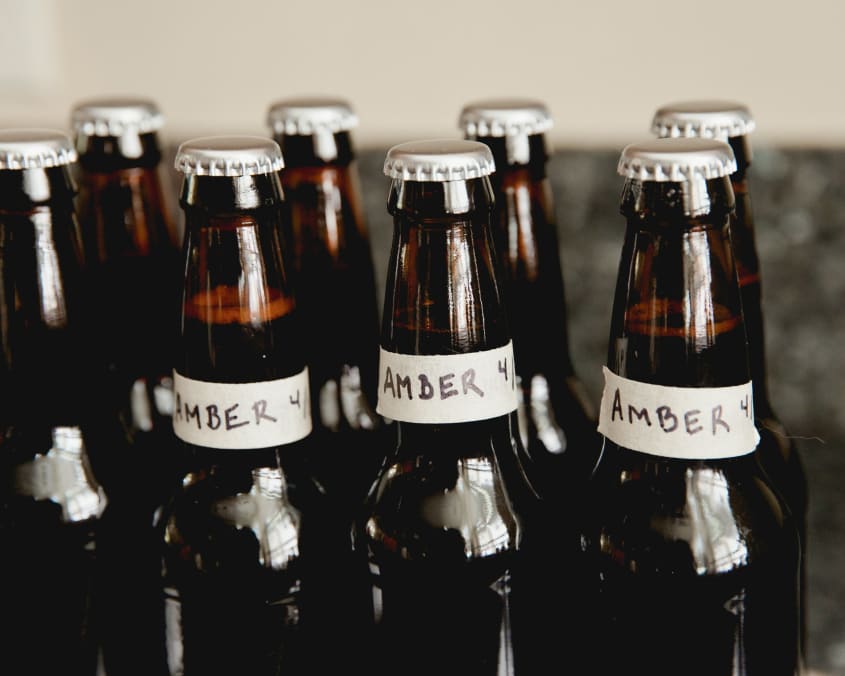
- Label and store the bottles: Label the bottles with the name of your beer and the date it was bottled. Store the beer in an enclosed cupboard, cardboard box, or plastic bin for 2 weeks or up to 1 year. Refrigerate the bottles before drinking.
Where to Store Your Bottled Beer
For safe-keeping, store your beer in an enclosed cupboard, inside a plastic bin with a lid, or closed inside a cardboard box. Not only does this keep your beer out of the way and protect it from exposure to sunlight, but if the worst should happen and a bottle does explode, both the explosion and the mess it makes will stay contained.
When Do I Get to Drink My Beer?
After you bottle the beer, give it at least two weeks before drinking it. The yeast needs a few days to actually consume the sugar, and then a little more time is needed for the beer to absorb the carbon dioxide. (Read this post to learn about the science behind carbonation.)
The beer also goes through a bit of “bottle shock” right after bottling. During this period, the flavors of the beer can taste muted or unbalanced. It goes away after about two weeks.
How Long Homebrewed Beer Will Keep
Homebrew keeps well for about a year, and its flavor often continues evolving. The flavor tends to keep improving for a month or two after bottling, stays steady for several months, and then starts to deteriorate and turn stale after about 12 months. Some beers continue to age well even beyond that, especially beers with an ABV of 8% or higher.
Brew Better Beer: A Companion to Beer School
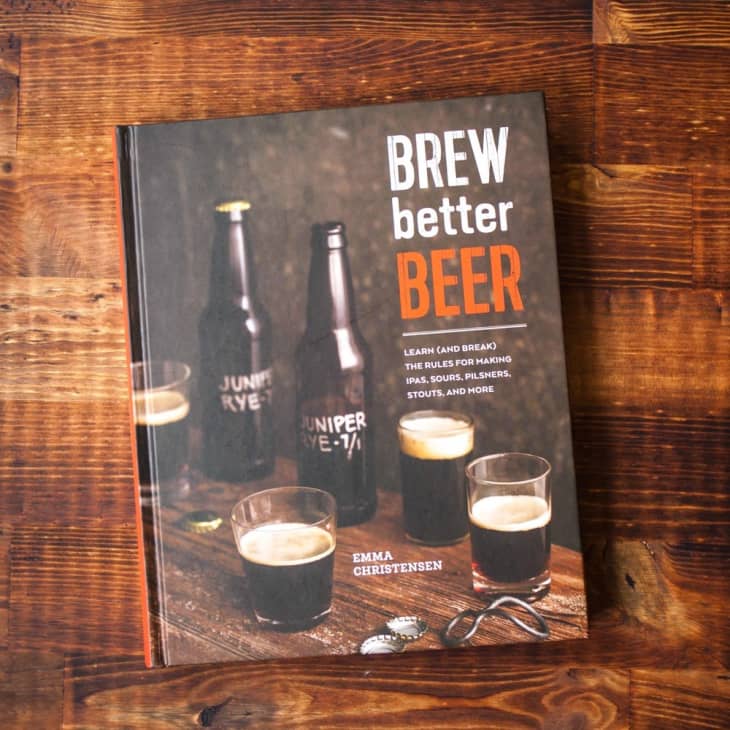
I love brewing beer so much, I wrote a book about it! Brew Better Beer (May 2015, Ten Speed Press) is a complementary guide to Beer School. Take a look for even more nerdy details about homebrewing, how to brew 5-gallon batches, and plenty of recipes for different beers.
→ Find it: Brew Better Beer by Emma Christensen
With The Kitchn’s Beer School, we’ll teach you how to brew your own beer at home — and brew it with confidence. In 20 lessons and 7 weekend assignments, we’ll get you set up with your own home brewery, walk you through your first brew day, show you how to bottle your beer, and then toast you on your first pint. Ready to brew your first beer? Join us!