Before & After: A Mini Studio Kitchen Gets a Gut Remodel
When the lack of storage is a pain, the finishes are extraordinarily plain and you just really don’t love your small kitchen, what do you do? If you’re designer Mary Lee, you rip it all out and DIY yourself a functional, stylish modern mini kitchen.
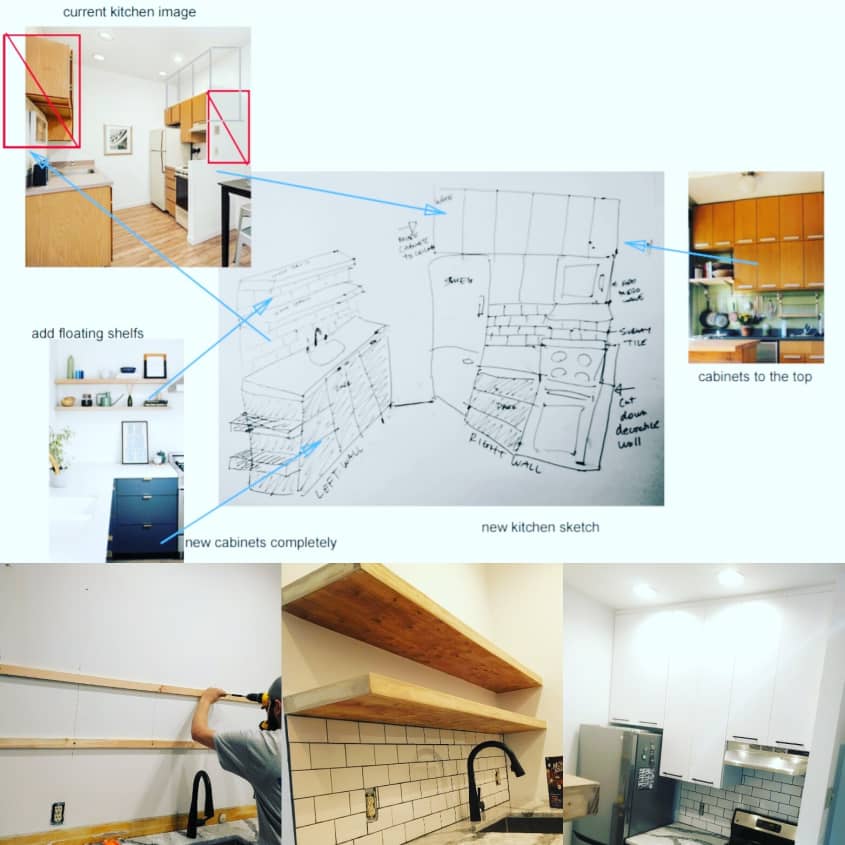
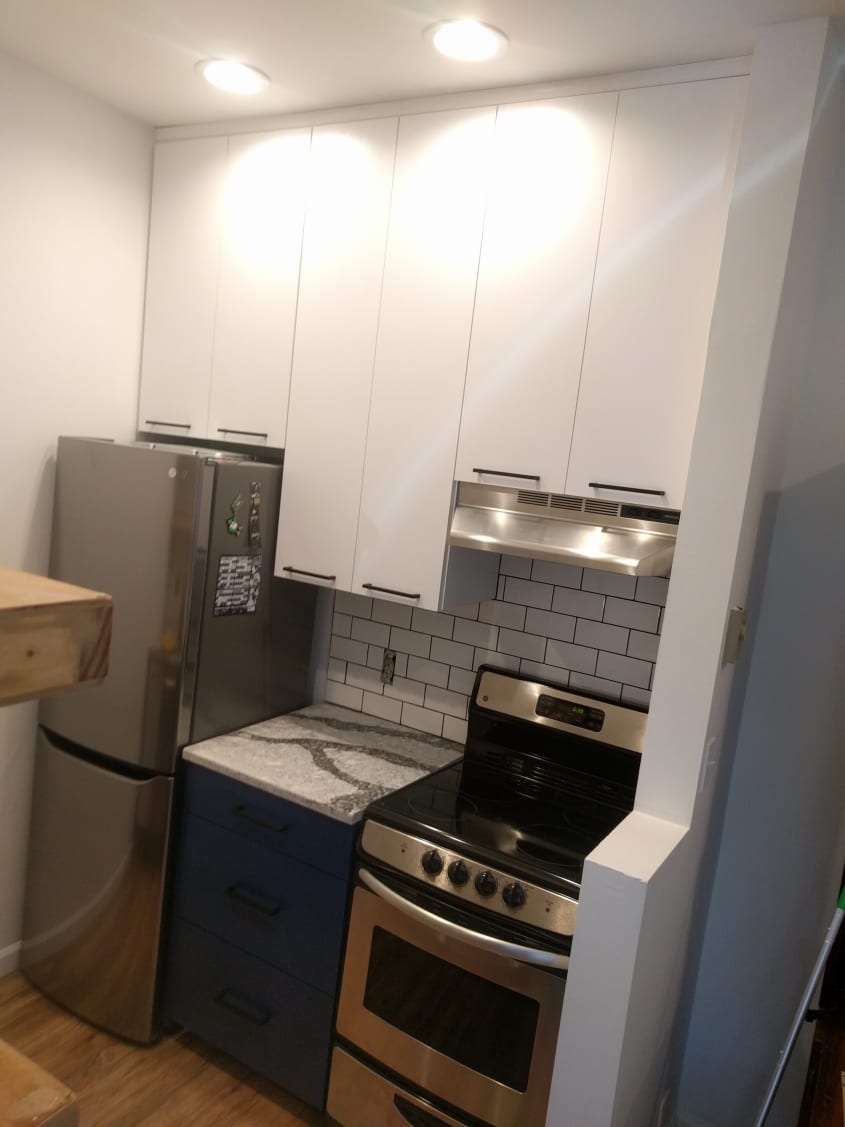
Mary’s tiny 366 square foot Seattle studio apartment — that she shares with her partner and a dog — had me drooling over all the ways she added style and function to such a small space. While every part of the apartment got a makeover, the kitchen’s transformation is perhaps the most dramatic and delightful. Below, Mary describes the kitchen remodel and you can see more before photos (as well as project process photos and even some of Mary’s sketches) in the gallery.
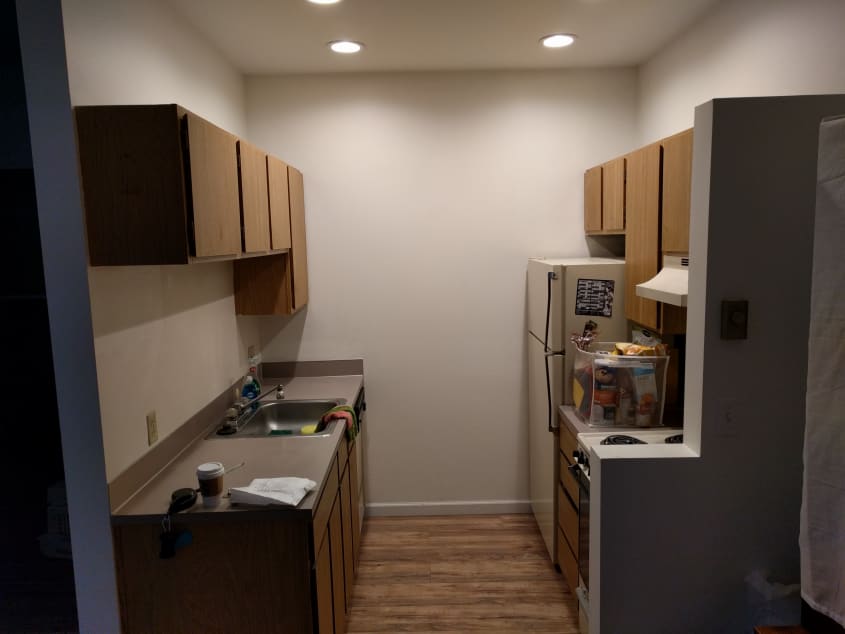
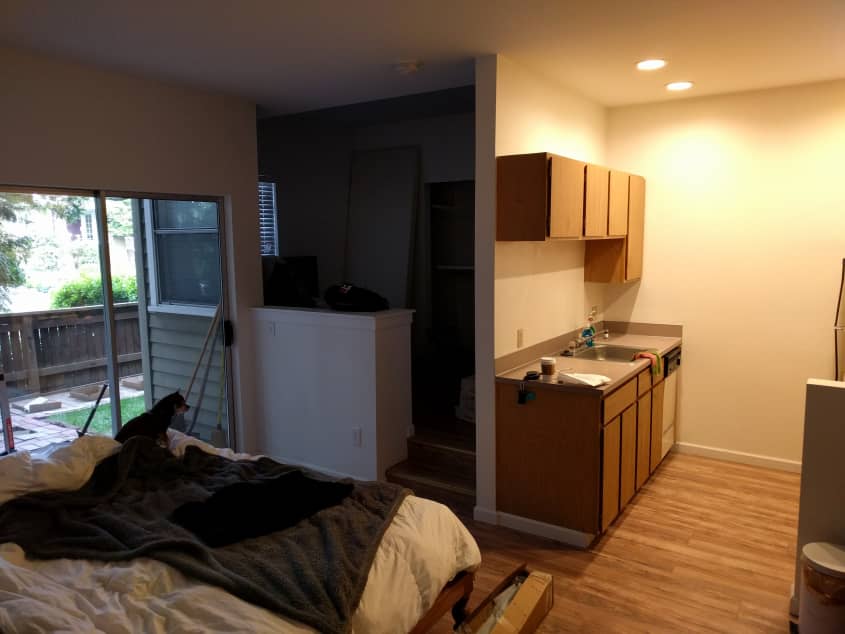
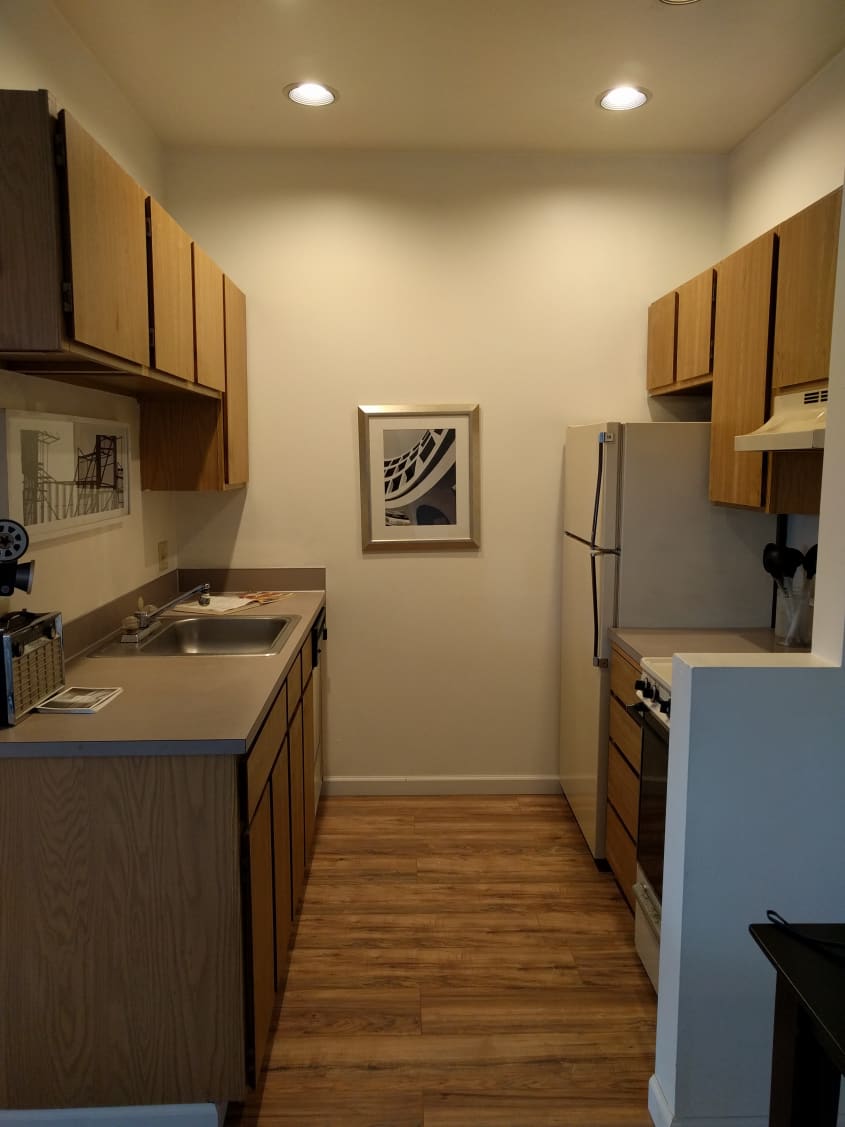
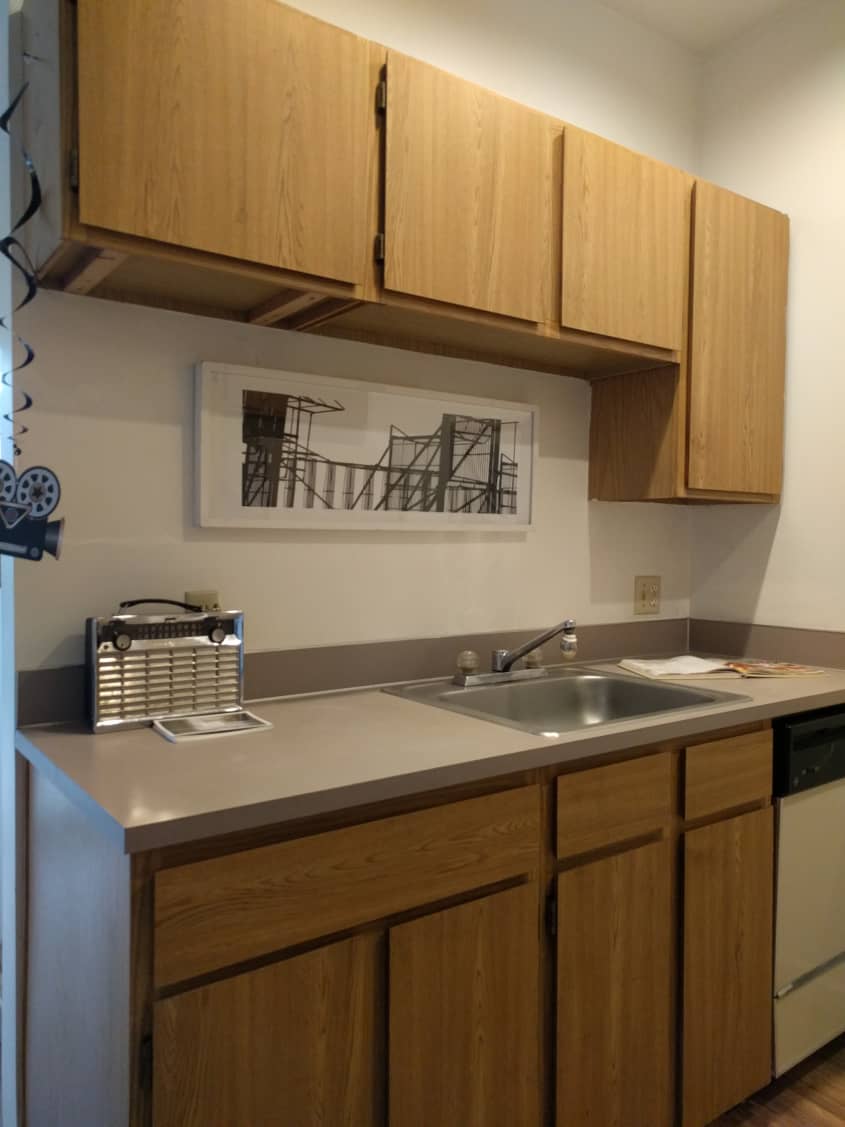
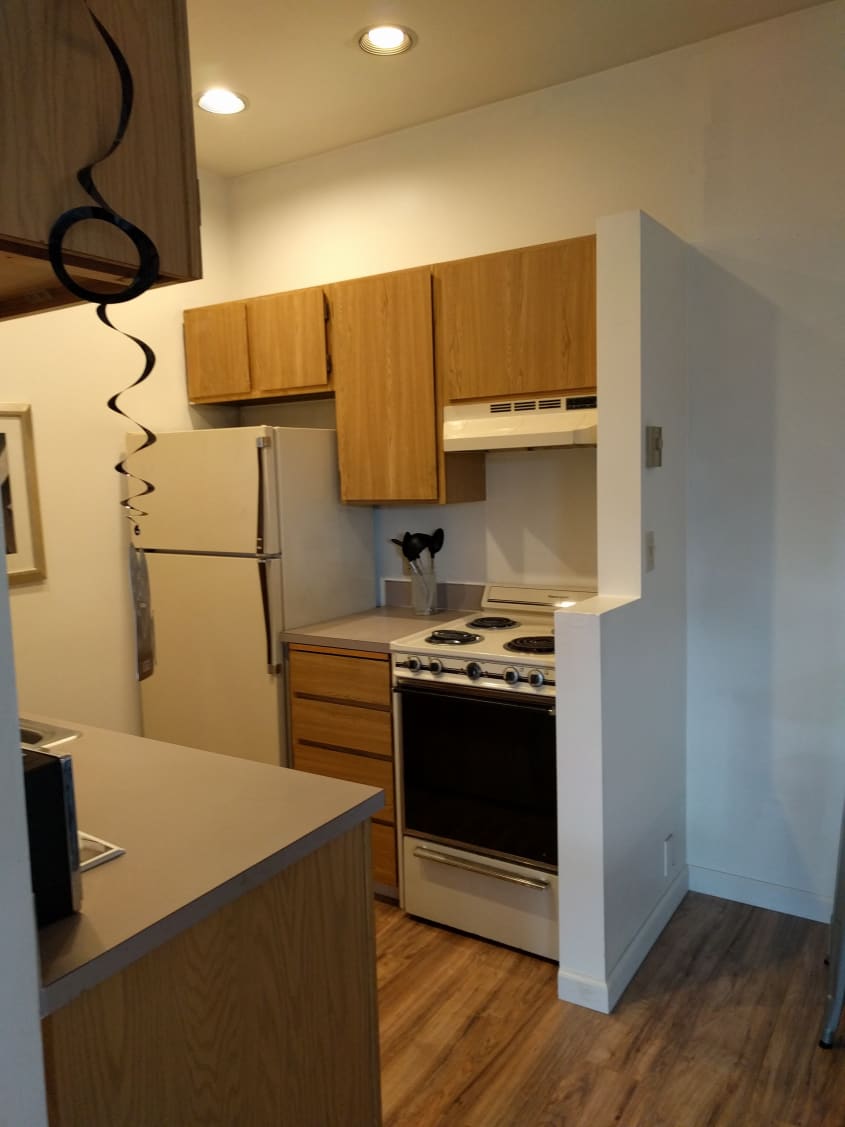
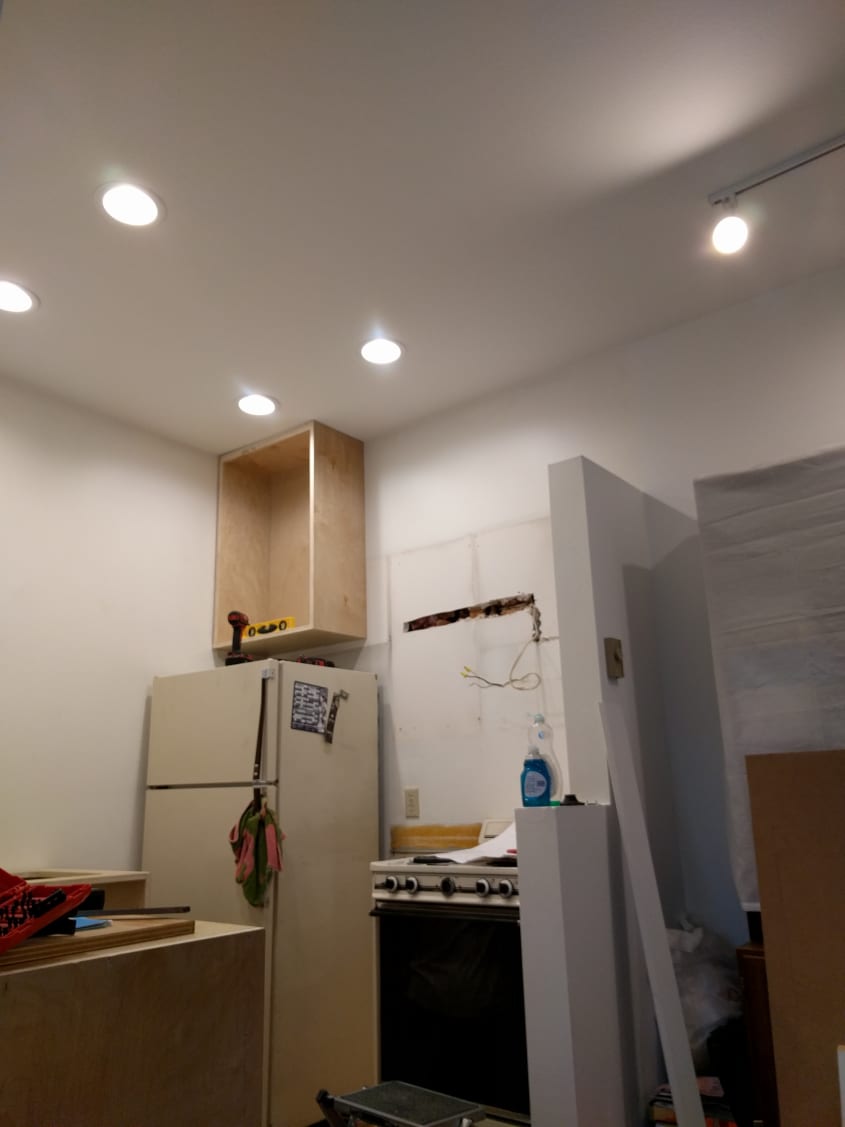
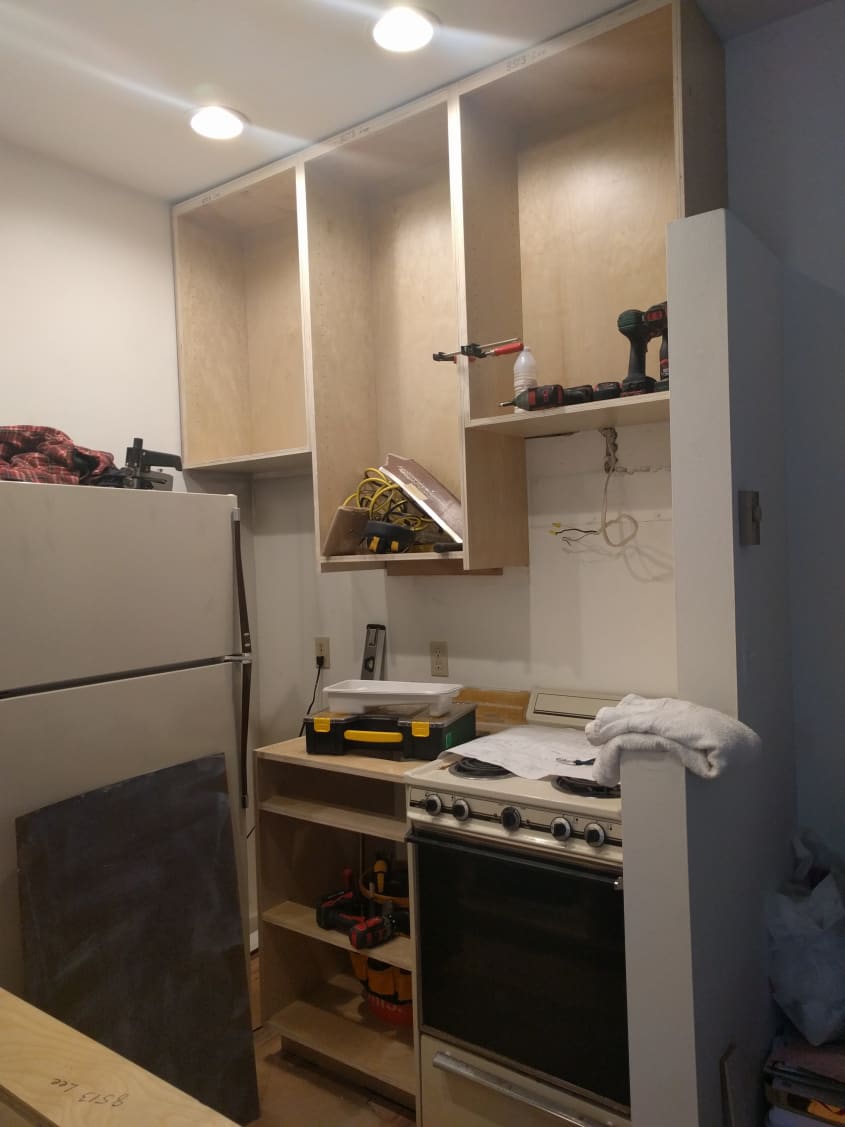
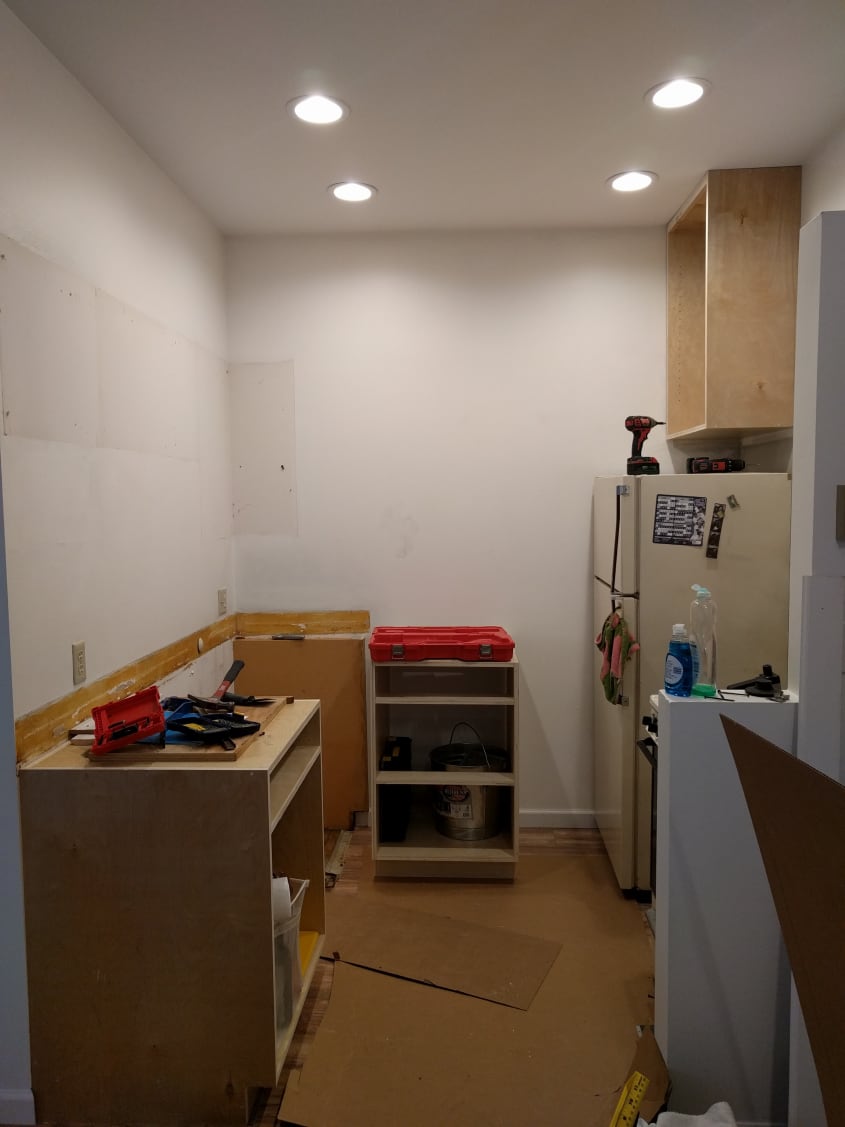
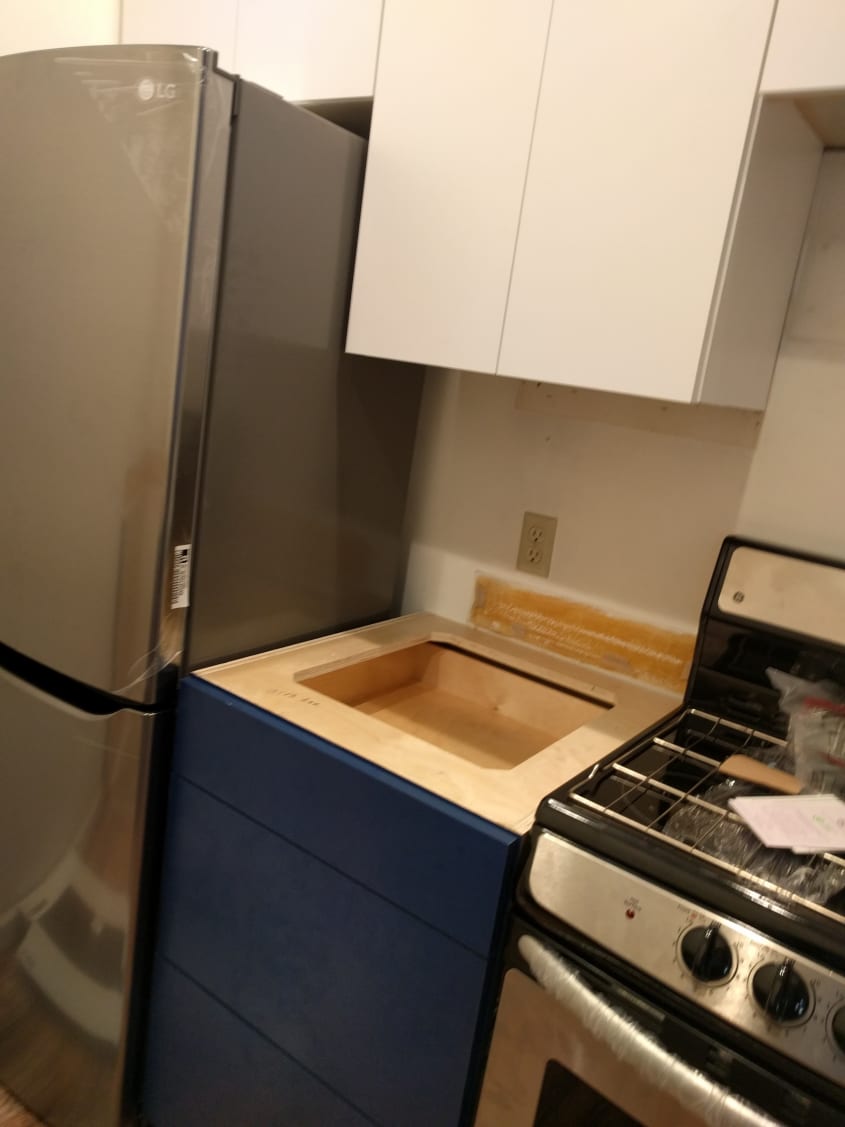
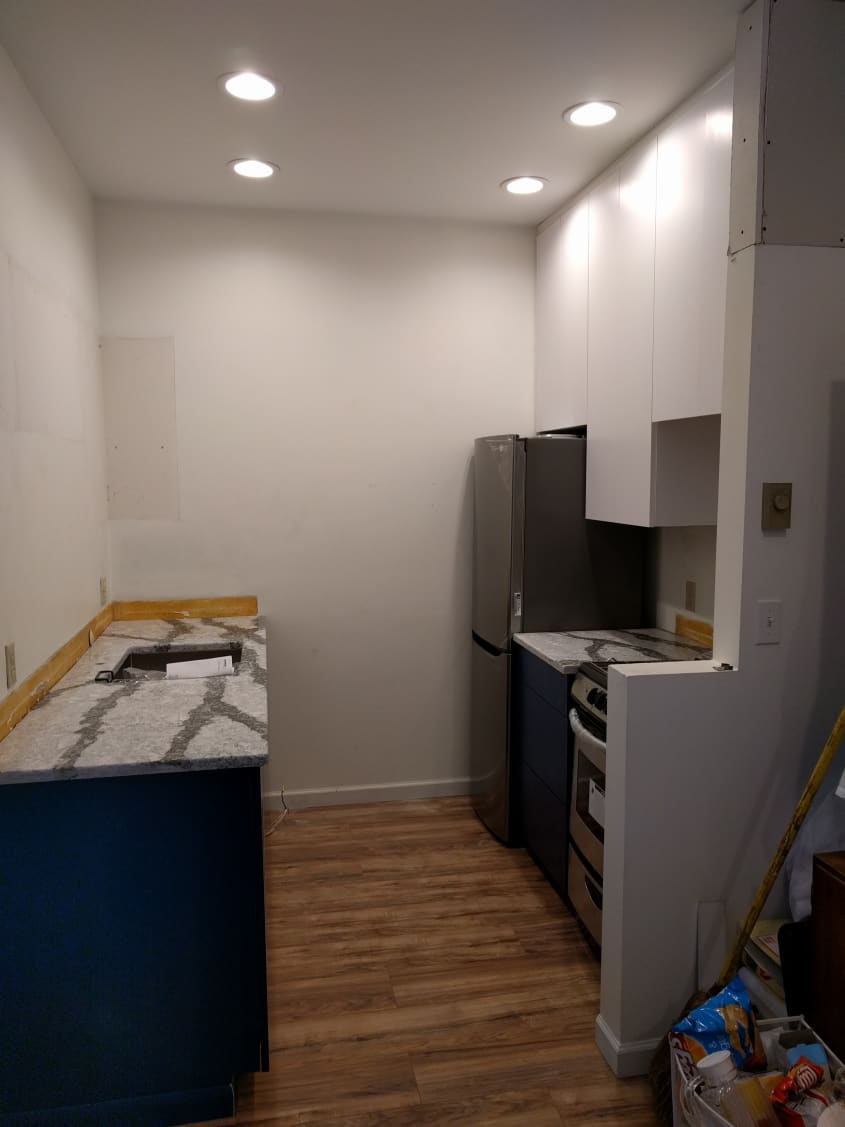
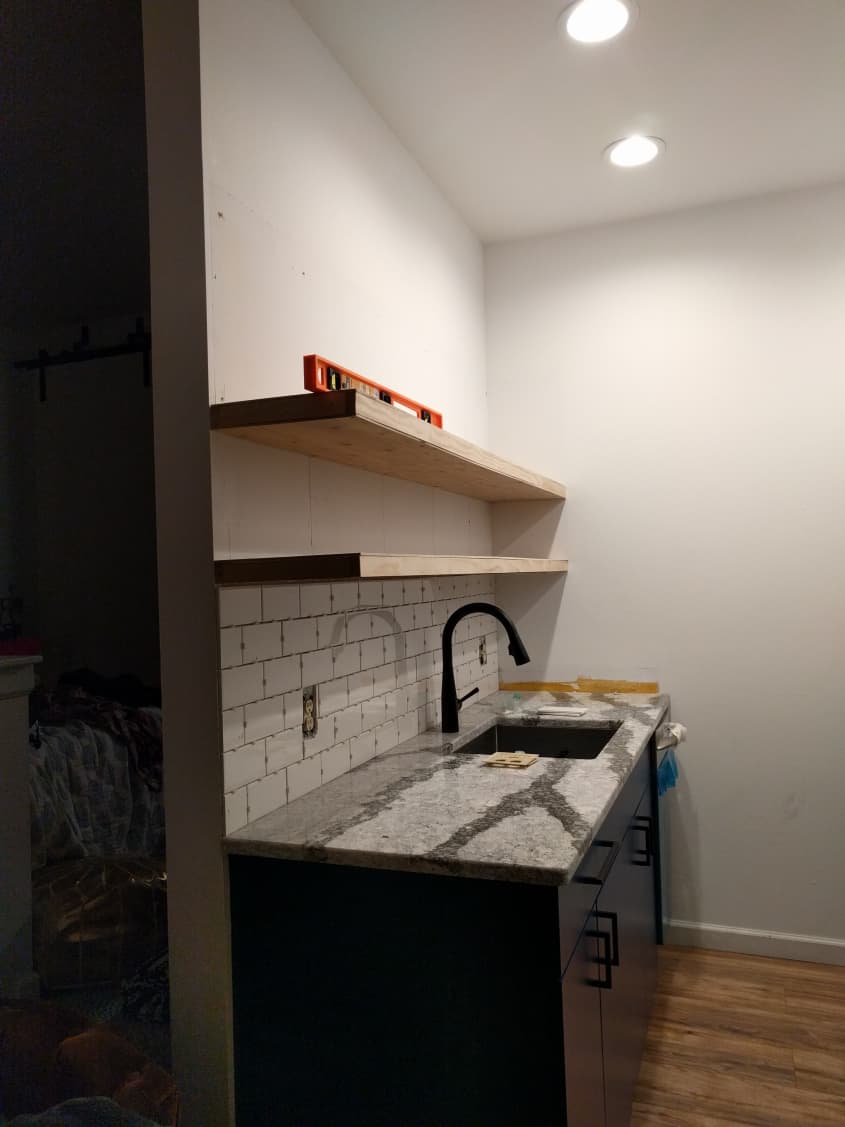
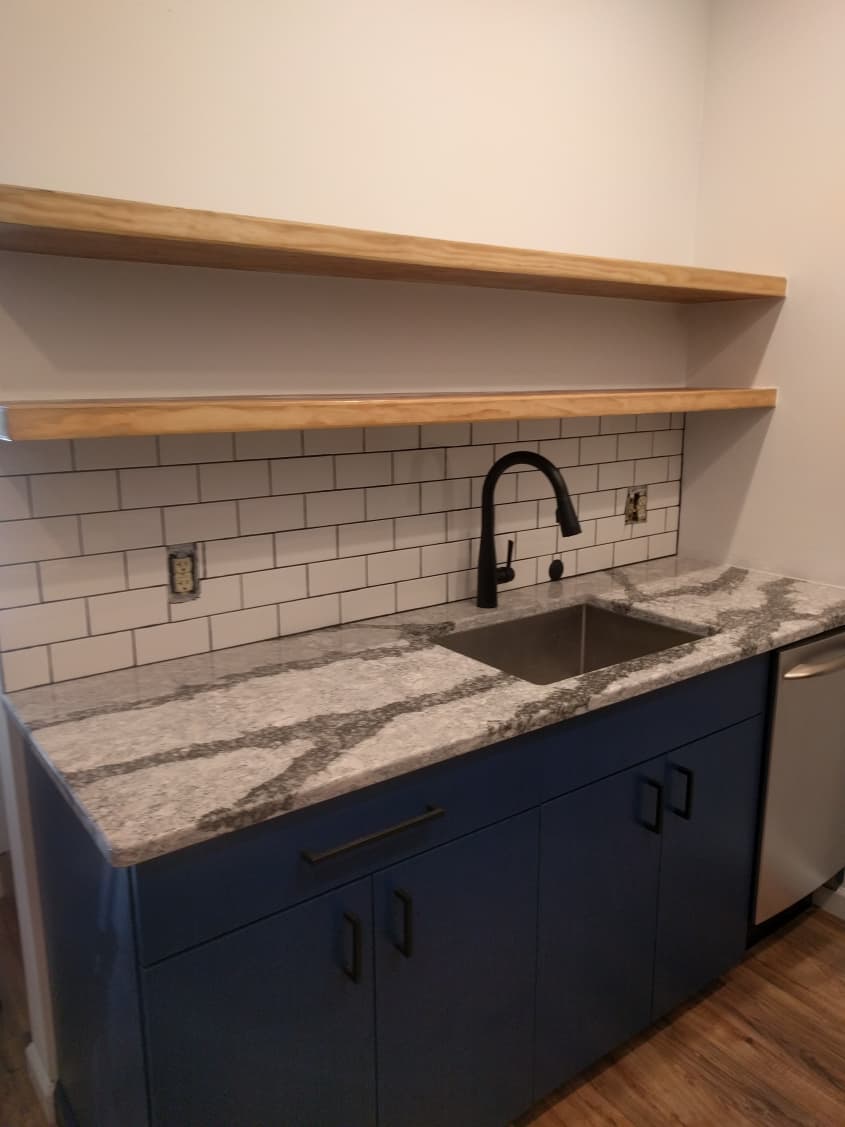
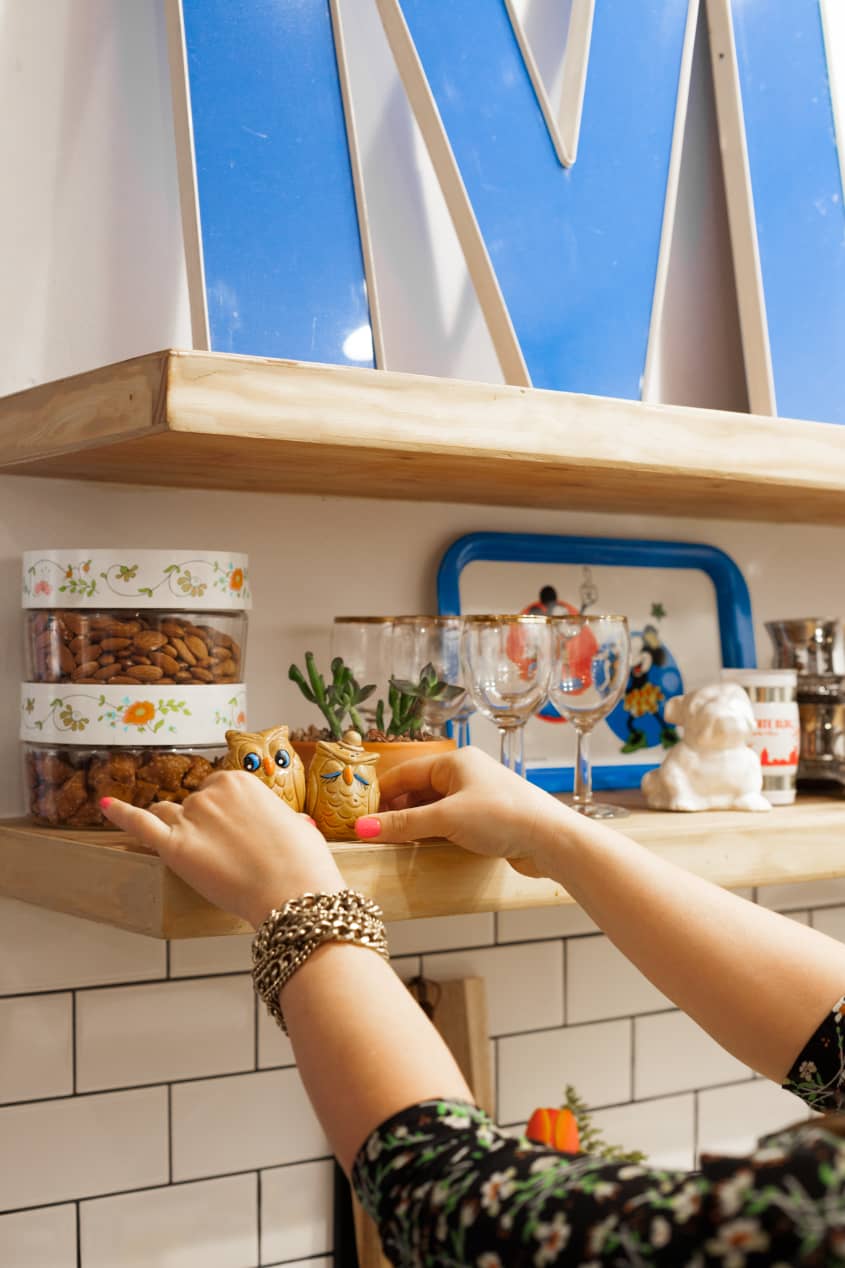
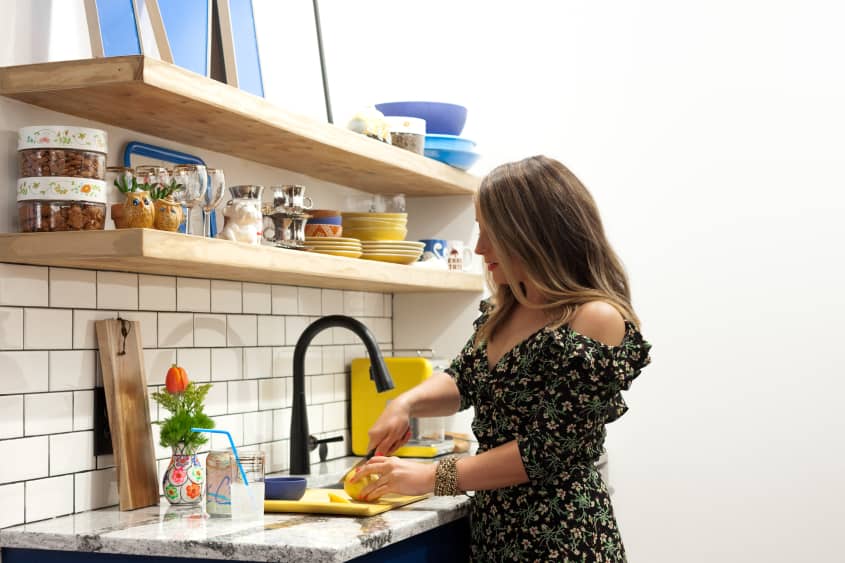
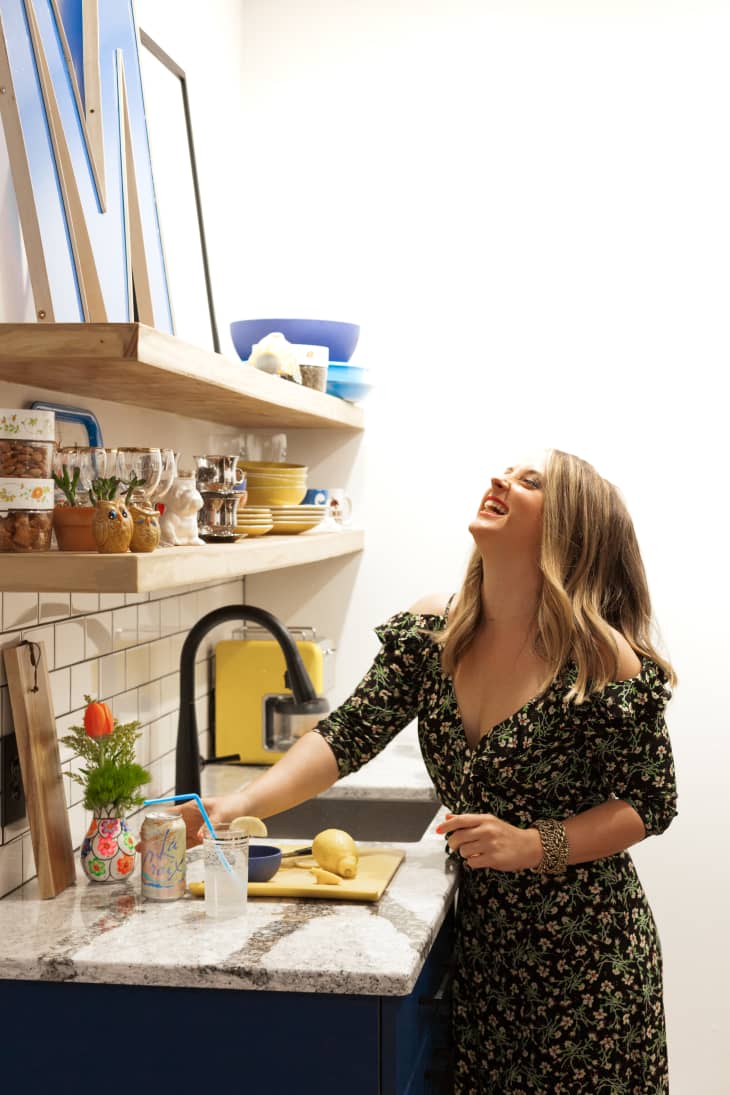
“At this point, everything has been remodeled or removed in this unit. In the kitchen I removed the visually heavy old cabinets by the sink and replaced them with heavy duty floating shelves with a tile backsplash underneath them. I wanted to only have the most used dishware displayed, readily available and easy to put away right there by the sink.
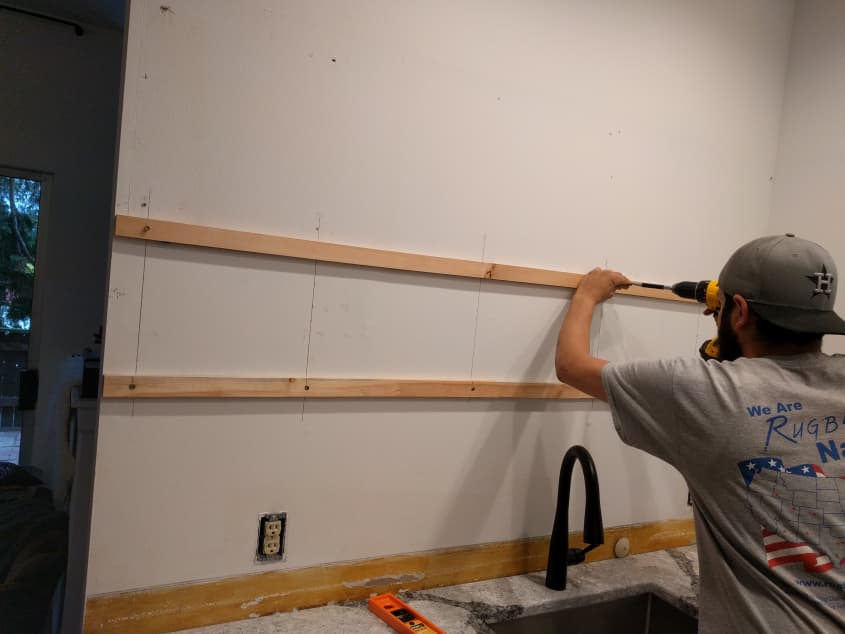
When you walk in the door one of the first things you see is that wall with the now floating shelves. I wanted it to make a statement while being highly functional. After lots of googling ‘DIY heavy duty shelves,’ I decided on an approach that would fit my budget and truly be achievable.
I sketched out a design that would meet my aesthetic needs in looking like one big heavy piece of thick wood mounted to the wall. I had a few helpers, like the awesome people at Home Depot in the lumber department and my partner in crime to execute it, but it was certainly easier on the wallet. Basically, I built a lightweight frame and attached the frame to the studs, then enclosed it with thin high quality wood. I used wood putty to help hide the seams.
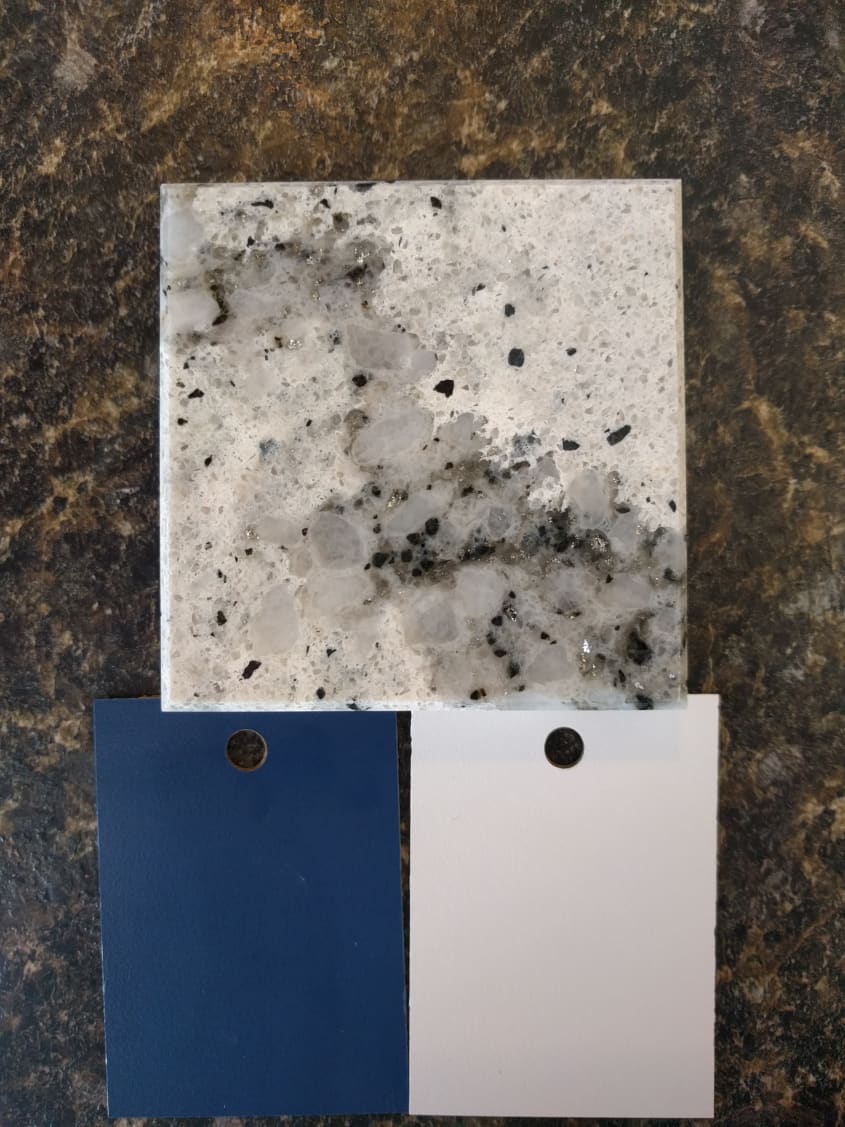
The backsplash was my very first tiling DIY. Don’t be scared of tiling, it is easier than you think! I love how it turned out. Throughout the whole studio, I wanted to contrast minimal, sturdy black hardware with natural wood grain as a base palette. This little area is one where those elements come together. I believe having these neutral bases lets my bolder unique mishmash of things (that don’t traditionally ‘match,’ but that I love) come together in perfect harmony.”