
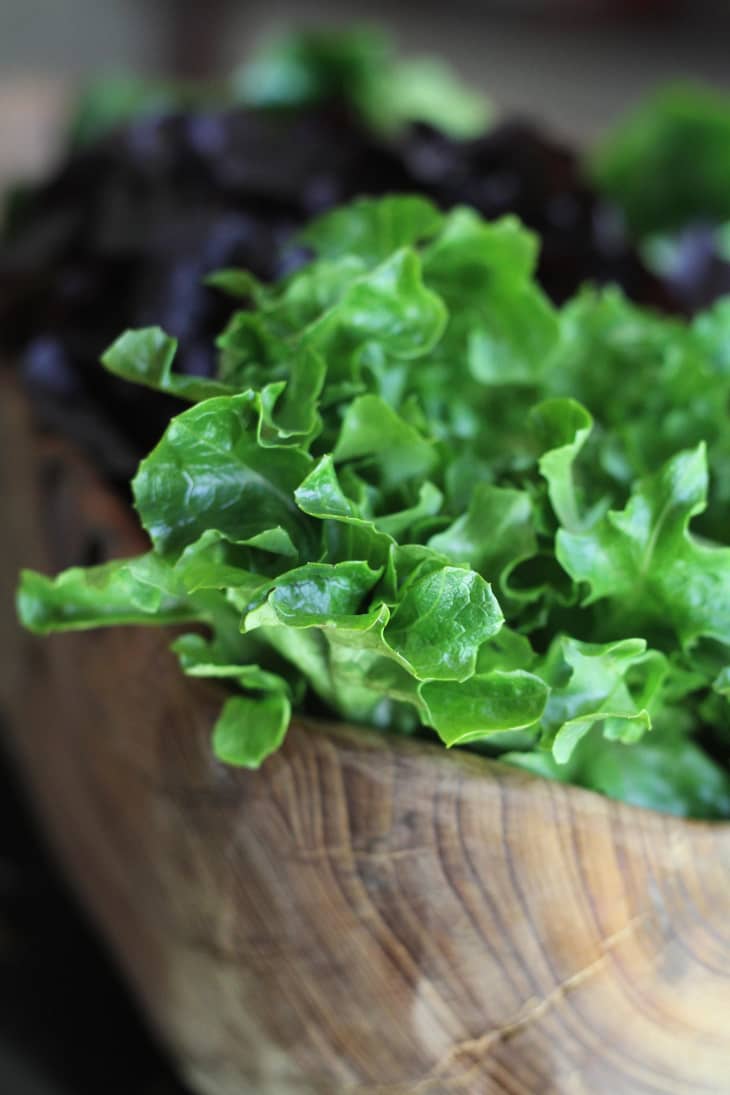
How To Grow Baby Lettuce (It’s Easier Than You Think!)
Most folks don’t realize how easy (and cheap) it is to grow your own baby greens, even with a very limited amount of space. Just think about all the plastic bags and clamshell containers used for packaged greens that you buy at the store (not to mention how long they’ve been sitting in that plastic before they even get to market). Why not save the packaging and transit time, and harvest your own baby greens at home?
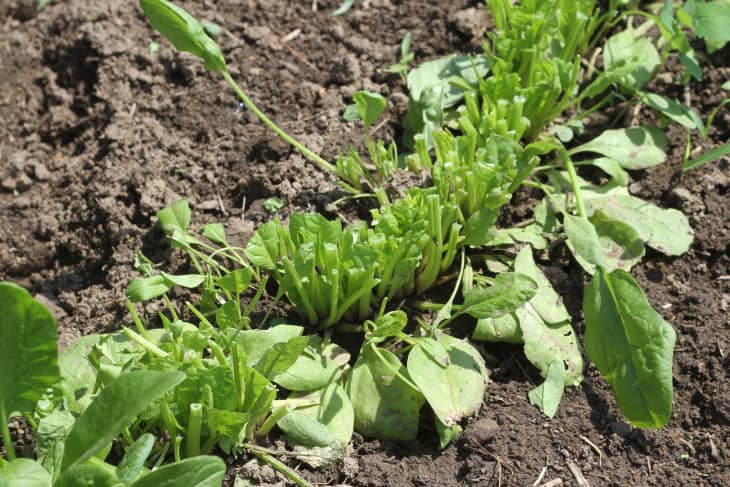
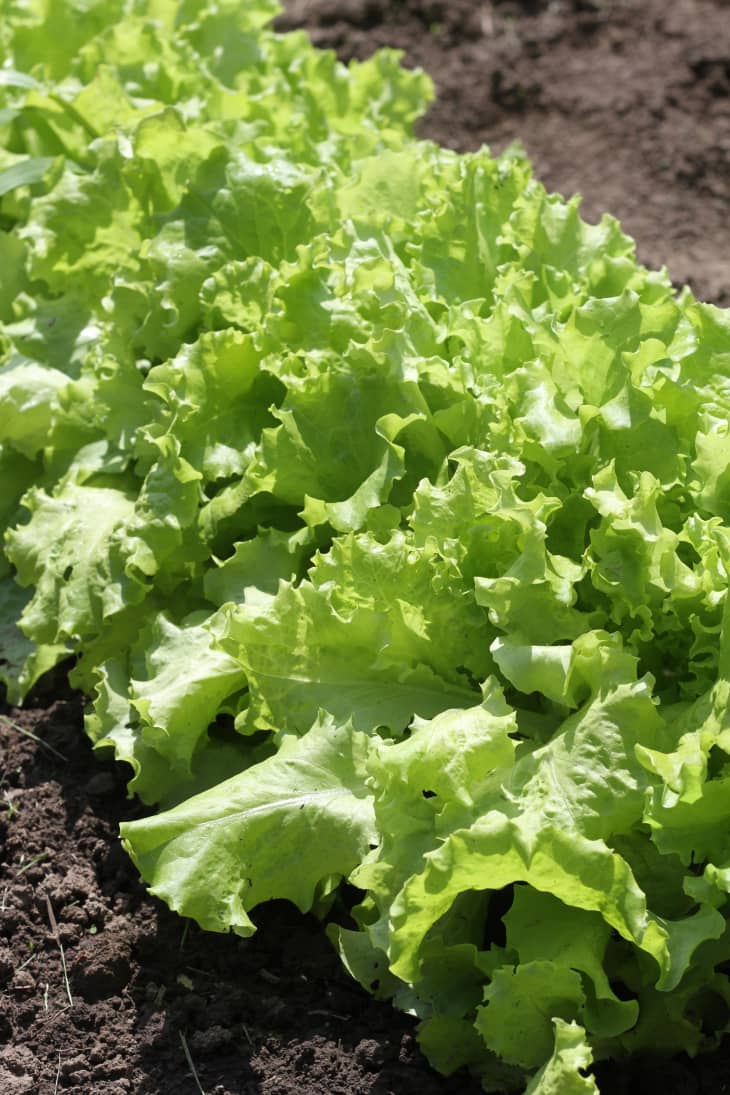
Baby greens (also called a “cut and come again” crop) are greens where you remove up to 75% of the leaves rather than remove the whole head. That way, you then allow it to regenerate for future harvesting. Because you never allow them to grow to full maturity, you can grow them a lot closer together than in traditional farming. You will also see your first harvest in a few short weeks. Growing this way will ensure that you get several good harvests out of each plant. You can stagger planting times for your greens so that you will always be flush with fresh leaves to harvest.
Like most plants, you need a good source of light, good soil and adequate water and drainage. Pre-moisten the soil before you plant. This will make sure your soil is adequately moist and that the water doesn’t push your seeds too far down into the soil. Watering with a hose or sprayer will be too powerful for your baby sprouts and greens. A watering can best replicates rainfall (unless you are lucky enough to have a drip irrigation system)
What You Need
Materials
- Compost
- Seed (leaf lettuce, spinach, mustard greens, arugula, cress, mesclun mixes, dandelion, mizuna, chervil, endive, mache, Chinese cabbage, tatsoi, escarole)
- Garden markers (popsicle sticks work great too!)
Tools
- Watering can
- Gardening tools
Instructions
After you’ve chosen the type of seeds you are going to plant, make sure you have an appropriate pot with great drainage or an area with well-tilled soil. It’s critical that your greens don’t sit in murky, overly damp soil.
Mix 2″-3″ of compost in with your soil.
Toss your seeds into your planter, or garden. Line them up in straight rows or simply sprinkle them all over the area designated. Cover with 1 1/2″ of pre-moistened soil.
Label your newly planted crop (corks, bamboo skewers and popsicle sticks are great options!), make sure the soil is kept moist (but not wet) and look for sprouts to emerge in 7-10 days!
Water ever day, encourage re-growth after harvesting with organic fertilizer.
To harvest: grab a pair of scissors, knife and cut above the soil at the stem, or just pinch the leaves off when they reach about 4″ in height. Harvest in the morning when the cells are fully hydrated. The average every-day-salad-eater will go through a row of 2′ of baby lettuce each week -so keep that in mind when planning your garden!
Edited from an original post published on April 20th, 2012 by Michelle Chin