
Make a Splash With a DIY Wallpaper Backsplash
If you love a good backsplash and want to bring some DIY flair to your kitchen but are a little tile averse, Claire has a fun solution for you!
Skill Level: Moderate
Time Required: 2-3 Hours
Project Cost: $150-$200
What You Need
Materials
- Harlequin Wallpaper – Palmetto Demoiselle about 1/3 roll
- Wallpaper adhesive
- 5.5mm thick hardwood ply cut to size of backsplash (can be done in store)
- 4mm toughened low iron glass which we got cut to size at the store. We also had 4 screw holes drilled into each corner of the glass at the store
- Domed mirror screws
- Tile trim – we used 12mm wrap trim
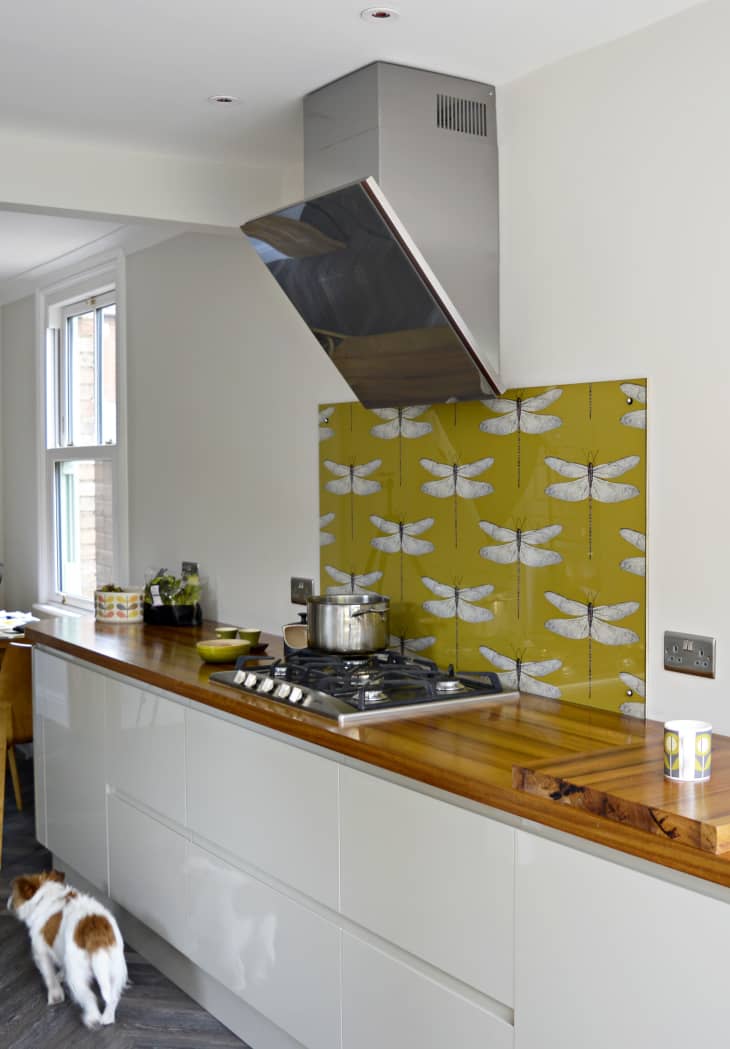
From Claire: We didn’t want the usual tiled backsplash in the kitchen, we wanted something more of a statement piece. When we came across this gorgeous dragonfly wallpaper, we knew we had to have it for the backsplash.
The wallpaper is protected with a piece of glass and is screwed to the wall. Plus you know what the really awesome thing about this DIY backsplash, is that it’s really easy to unscrew the glass and change the wallpaper when you feel like something different.
There are so many fantastic wallpaper designs out there the hardest thing about this backsplash is going to be choosing the wallpaper. We loved this DIY wallpaper backsplash so much we made one for the bathroom too.
Instructions
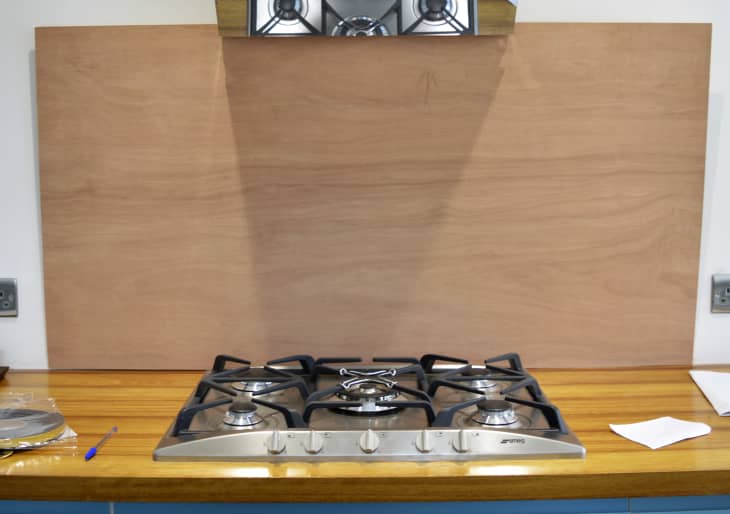
- Measure out your backsplash and get the plywood and glass cut to size at the hardware store.
- Cut your wallpaper to fit the plywood. Think about how your wallpaper pattern design will fit on the backsplash.
- Key your plywood by coating it with a layer of wallpaper paste and leaving it to dry.
- Once dry, paste the board again and apply the wallpaper. Leave to dry thoroughly.
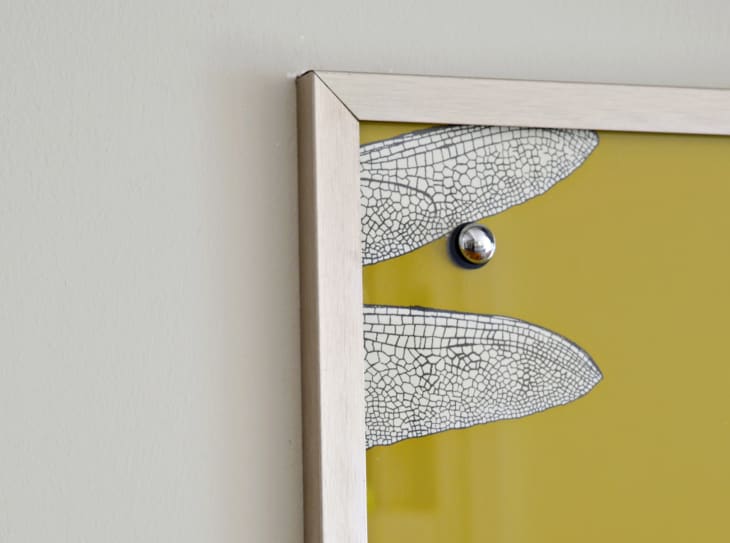
- We used a low iron toughened glass for this backsplash because if it’s not low iron the glass can have a green hue to it. The DIY backsplash and the glass were fitted to the wall all together. With the mirror screws going through the glass and backsplash into the wall. The screws were capped off with chrome mirror screw domes.
- Finally when it’s all in place you can fit the tile trim round the edge of your DIY backsplash.
You can see more on Claire’s blog Pillar Box Blue.
Have a really great DIY project or tutorial that you want to share with others? Let us know! We love checking out what you’re making these days, and learning from our readers. When you’re ready, click here to submit your project and photos.