
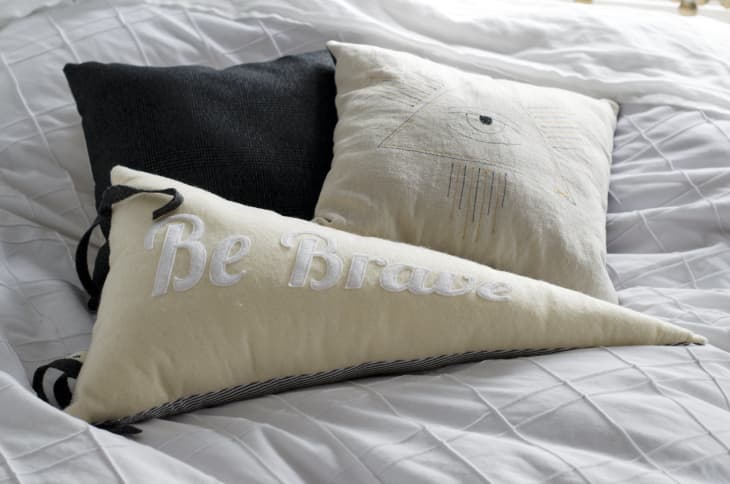
House Tour Gotta Have It: How To Make Leila’s Pennant Pillow

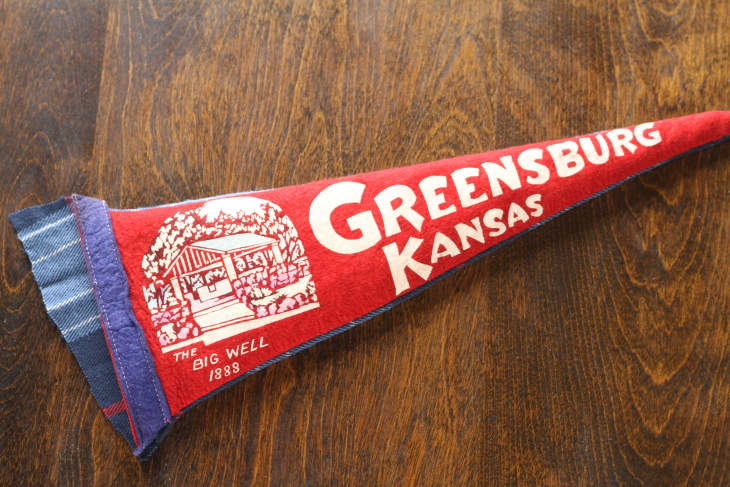
One of the best things about House Tours is ogling all the interesting decor the homeowners have collected together in their spaces. We often fall in love with a piece of art, or a pillow- and just gotta have it! Sometimes the pieces are new and easy to source, sometimes they are vintage or one-of-a-kind, and sometimes they are the best kind: homemade and easy to DIY. This adorable pennant pillow from Leila’s Vintage Cocoon made our “Gotta Have It” list.
House Tour → Leila’s Vintage Cocoon
What You Need
Materials
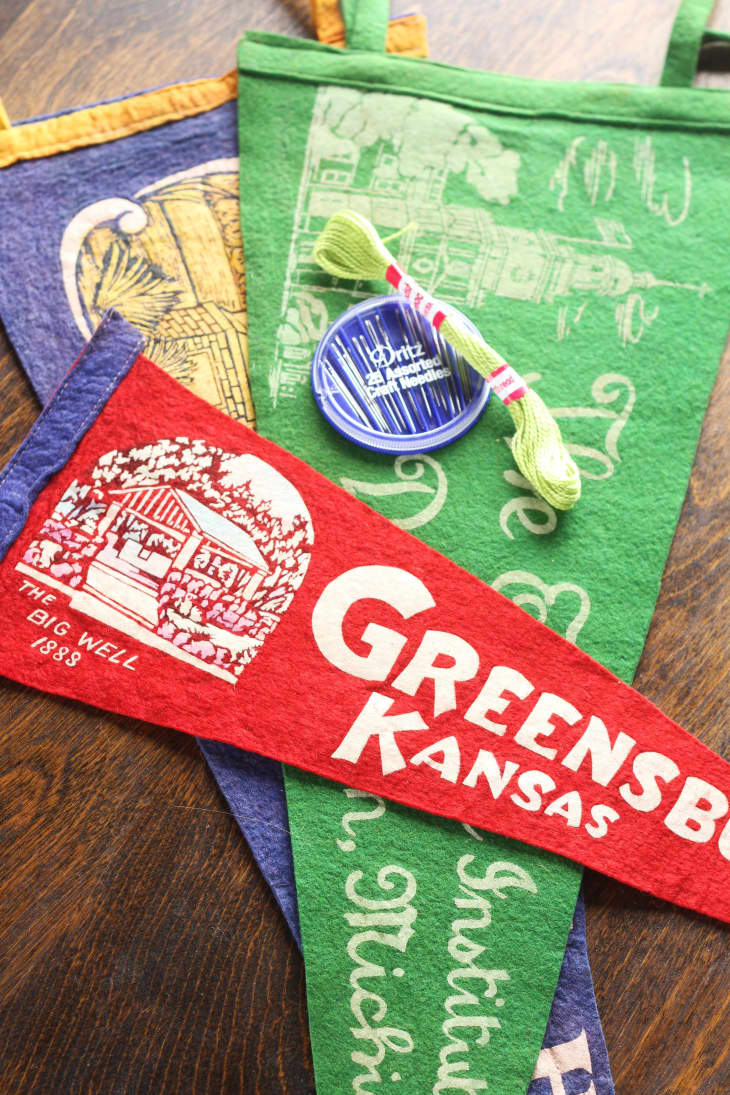
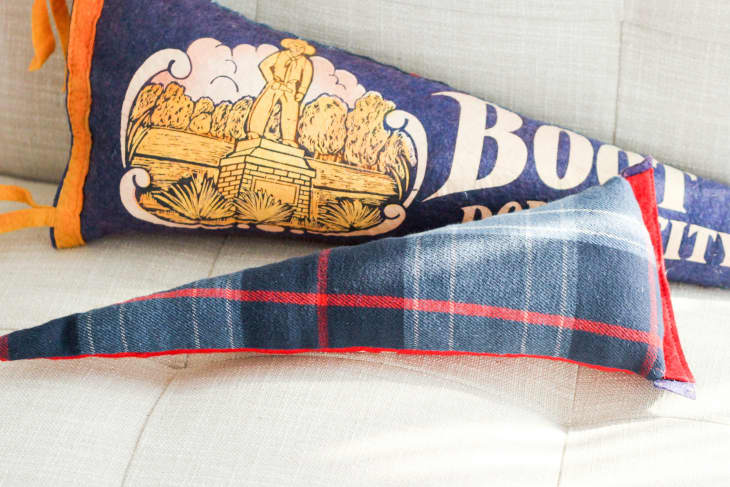
- Pennant (or a few sheets of felt to make your own)
- Thread
- Backing fabric
- Pillow stuffing (Poly-Fil, tiny fabric scraps, or the like)
Tools
- Needle
- Scissors
Instructions
Leila’s pennant pillow looks quite a bit bigger than ours, but using a ready-made pennant cuts down on time and eliminates the hassle of making a template- plus, you’ve got instant character if you pick a vintage pennant. But if you’re crafty, by all means make your own pennant with the exact dimensions, colors, and words you want.
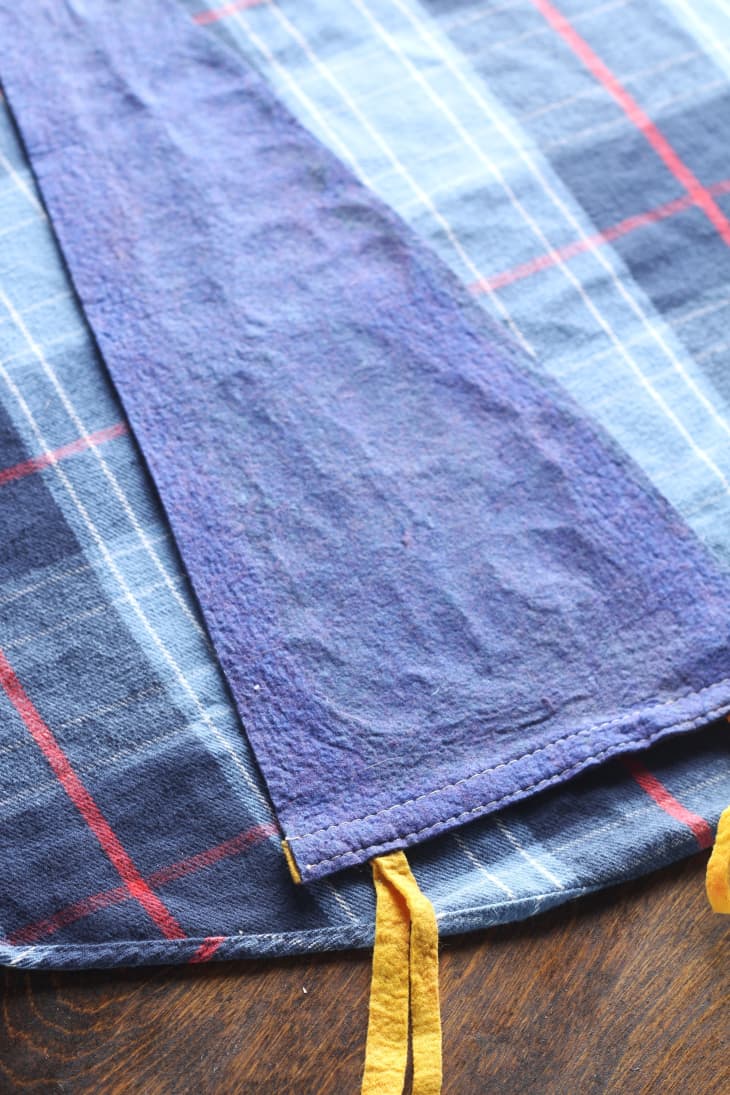
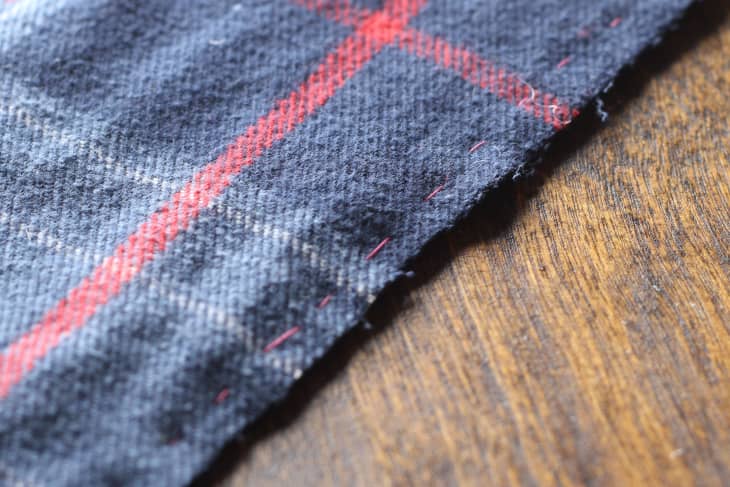
1. Start by laying the pennant face down on the backing fabric. The backing fabric should be face up. Almost any fabric will work, just try to choose one that is close to the same weight as the pennant. I used an old flannel shirt.
2. Pin down the pennant so it won’t shift around while you trace around it and cut out the backing fabric. Be sure to leave an allowance of 1-2 inches of excess fabric along the back edge (opening) of the pillow.
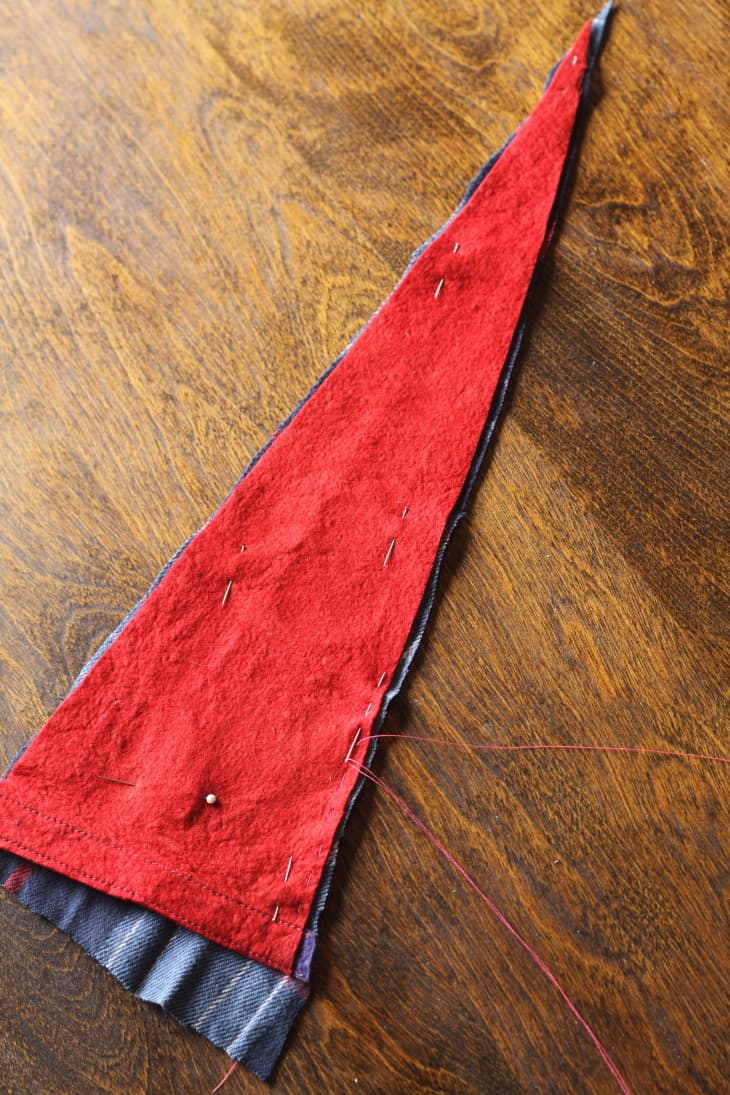
3. Using thread that matches your pennant, sew a short running stitch along the top and bottom edge of the two pieces of fabric, leaving about 1/8″ seam allowance. The shorter the stitch, the stronger the seam will be- you don’t want any stuffing coming out, so make those stitches small!
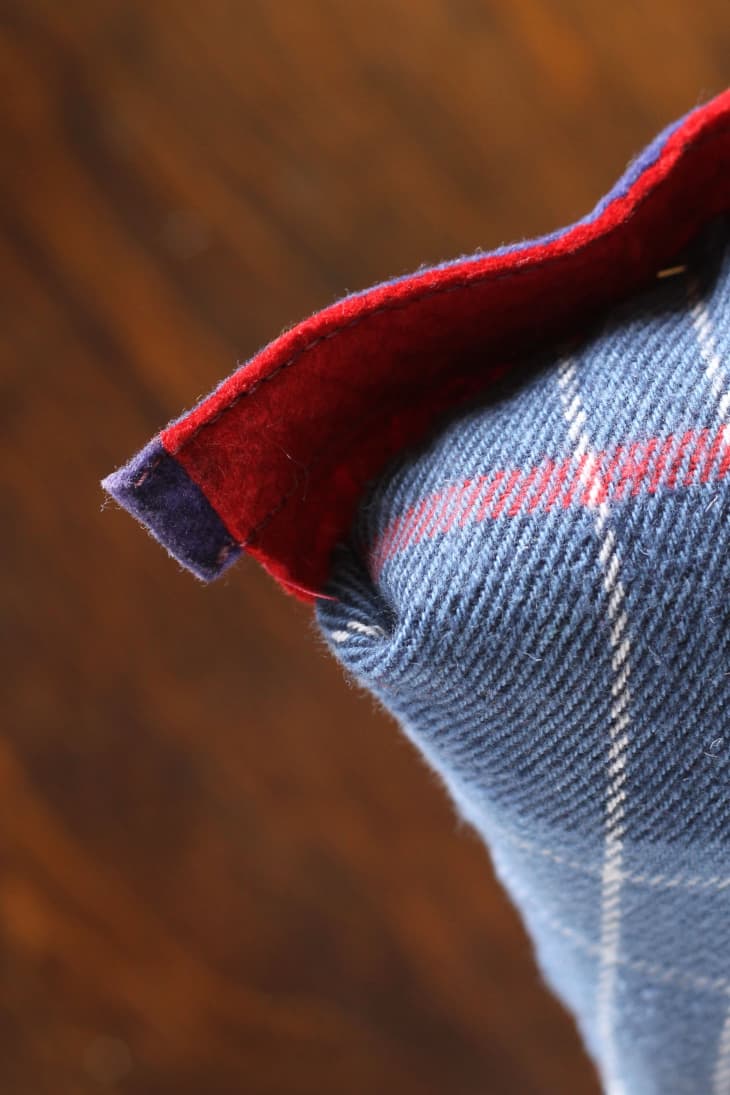
4. Once you’ve sewn the two pieces of fabric together, tie off and secure your stitch. Push the tip of the pennant out through the open side and begin to work the fabric rightside-out, so the front of the pennant is now facing up. At this point, the side of your pennant should be wide open and ready to be stuffed.
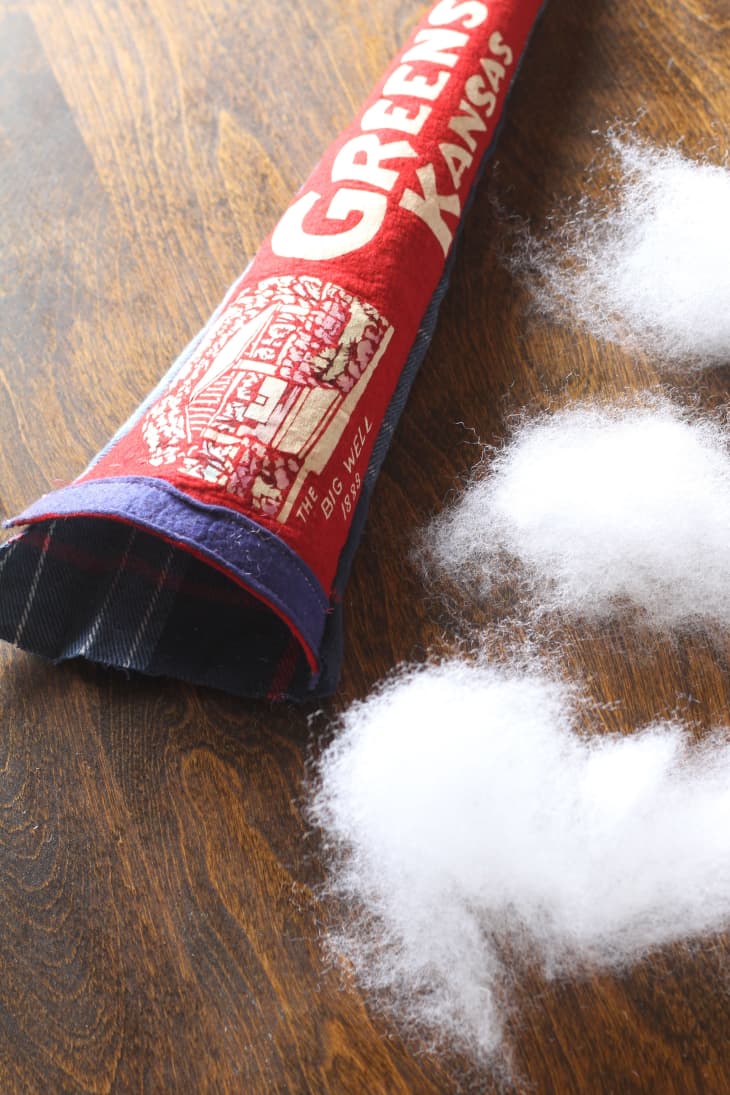
5. Begin to add the filling in through the side opening of the pennant in small amounts; use a pencil or knitting needle to push the filling all the way down to the point. Gradually increase the amount of filling you place in the pillow as you work your way back from the point. Smooth out any lumps so your pillow has a nice even surface.
6. Fill the pennant with stuffing so that it is full and smooth, with stuffing just starting to pour out the side.
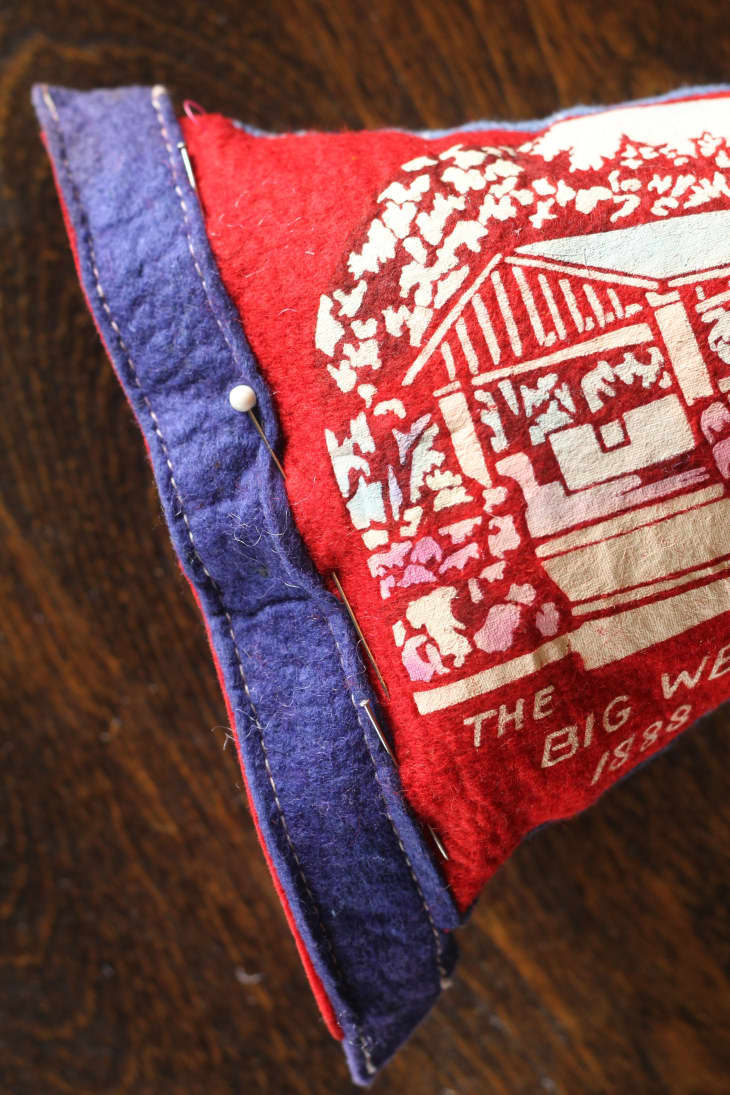
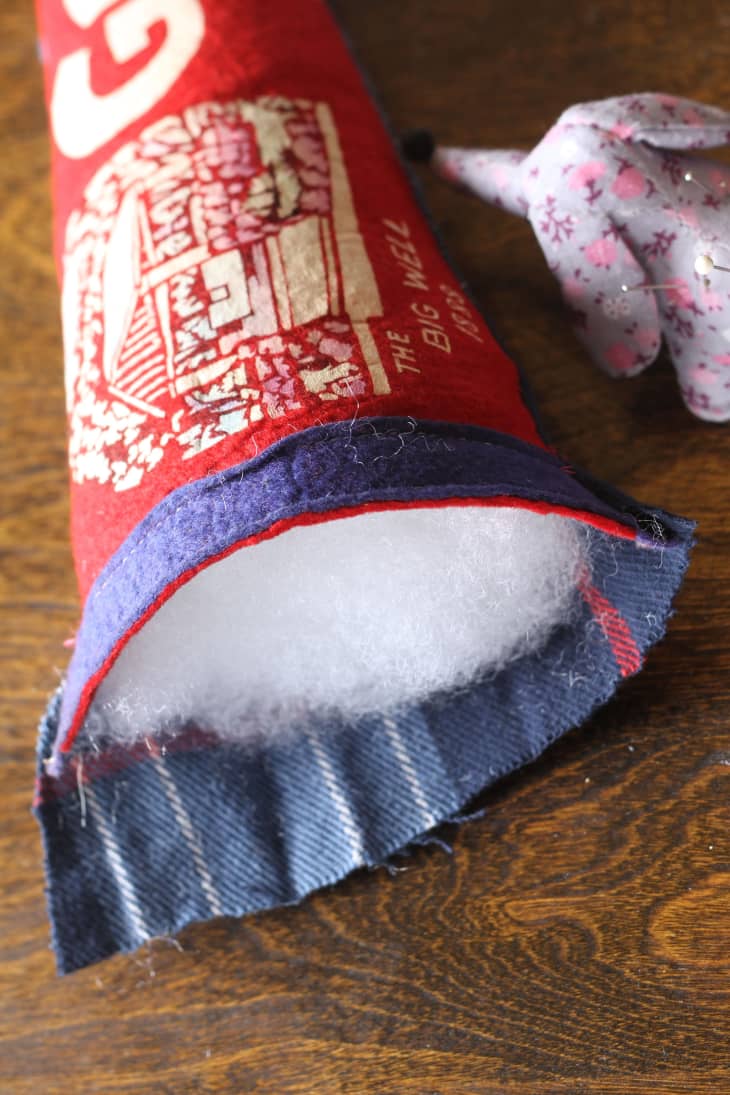
7. Take the excess backing fabric and tuck it under the backside of the felt so that it extends just beyond the inside of the contrasting border. Secure the backing fabric to the felt border with a few straight pins.
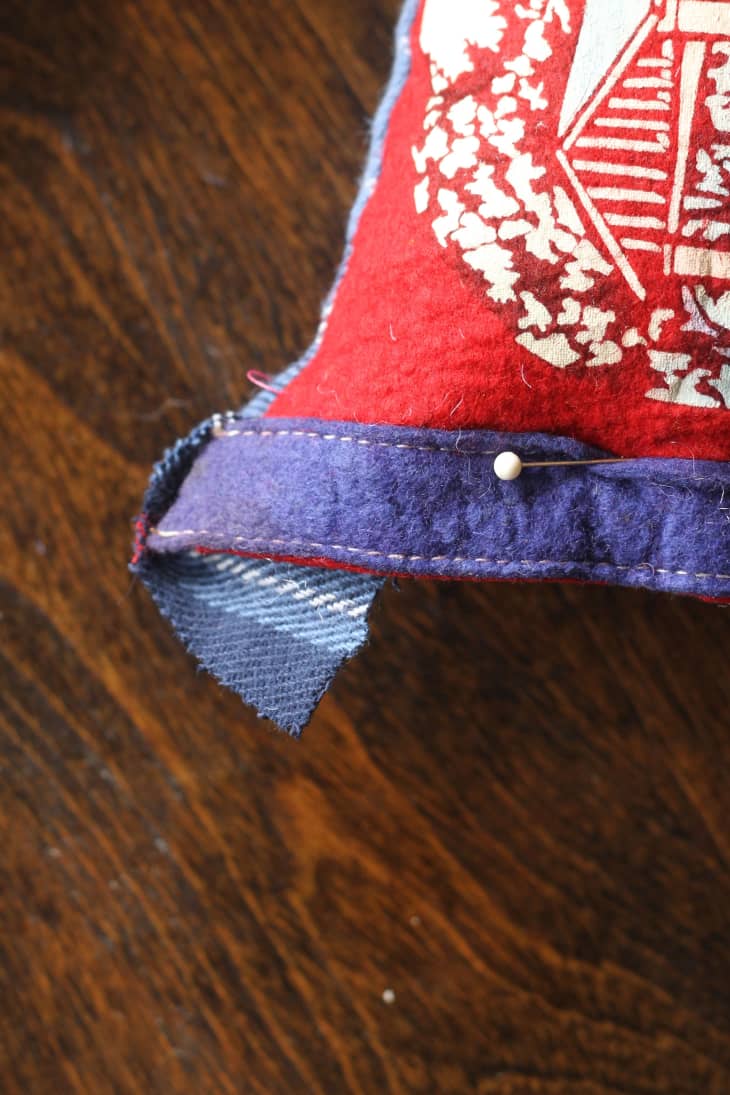
8. Be sure to tuck the two corners up and under the border as well.
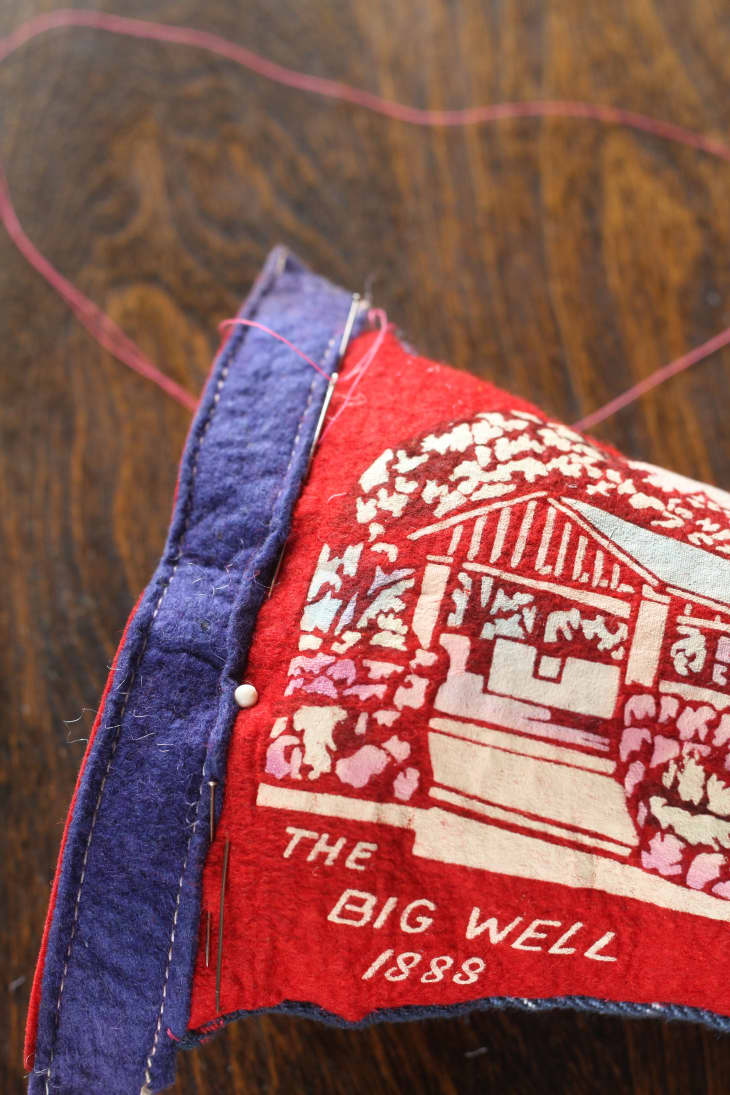
9. Thread your needle, tie a few small knots in your thread, and start the needle on the the backing fabric so that it comes up and out along edge of the contrasting boarder on the felt pennant. If you follow along the edge, your thread will be invisible from the front. Sew a running stitch along the edge so the side of the pillow is completely closed.
10. Secure your stitch, trim your thread, and enjoy your one-of-a-kind, DIY pennant pillow!
Have a really great DIY project or tutorial that you want to share with others? Let us know! We love checking out what you’re making these days, and learning from our readers. When you’re ready, click here to submit your project and photos.