
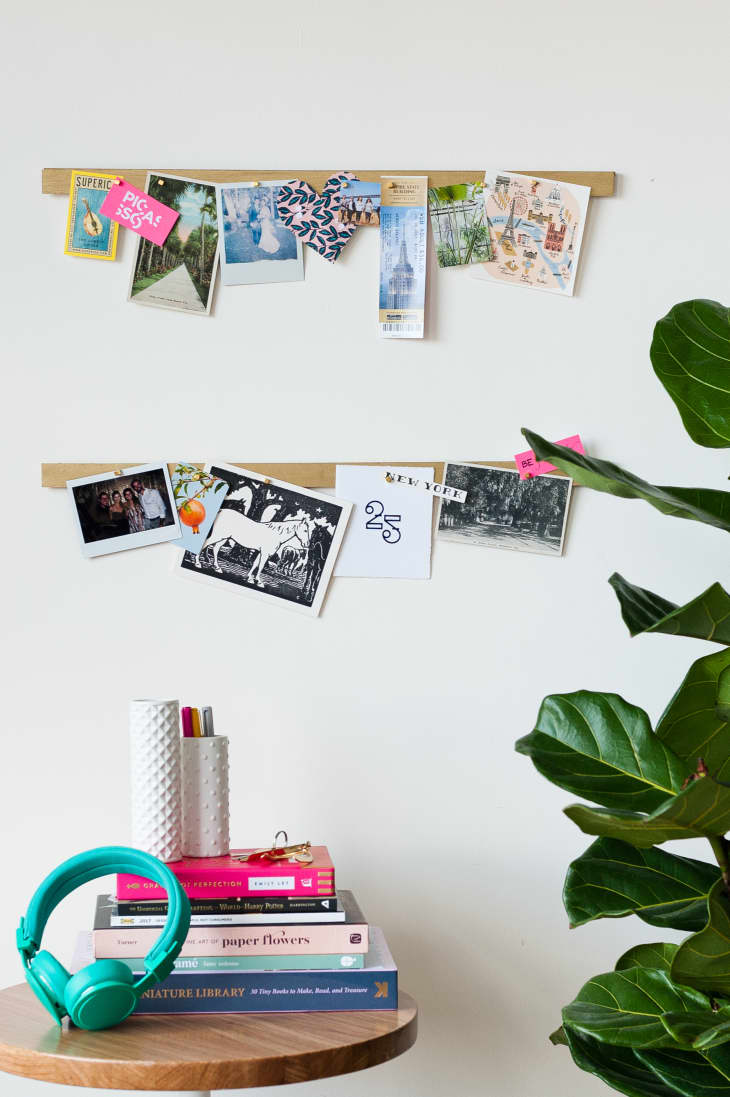
Make a Renter-Friendly Magnetic Photo Display in 3 Easy Steps
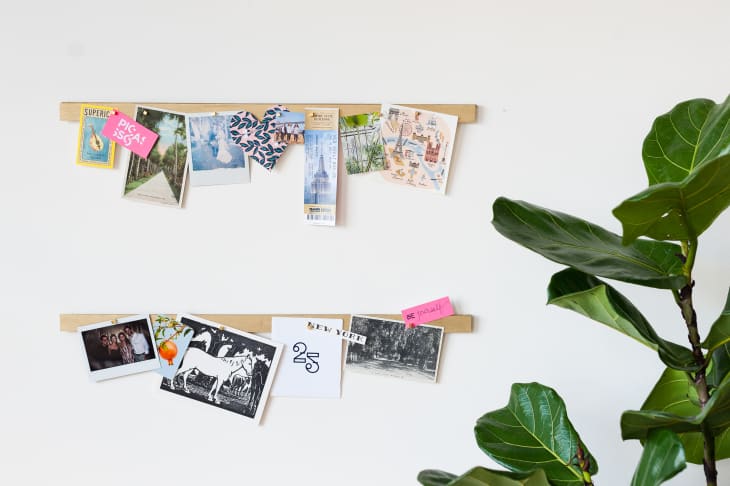
I love hanging on to old photos, heartfelt cards, and fun prints and postcards from my various travels, but it’s hard to figure out how to display them without buying a dozen different frames, or haphazardly attaching them to my wall with washi tape. But that doesn’t have to be the case — thanks to magnets. With a handful of supplies and 30-minutes or less of your time, you can dress your walls up and display all your favorite prints with this easy photo display tutorial. Similar to a magnetic knife rack you might see in a kitchen, this project combines the forces of magnets with trendy metallics in three steps. Yes, I said three!
What You Need
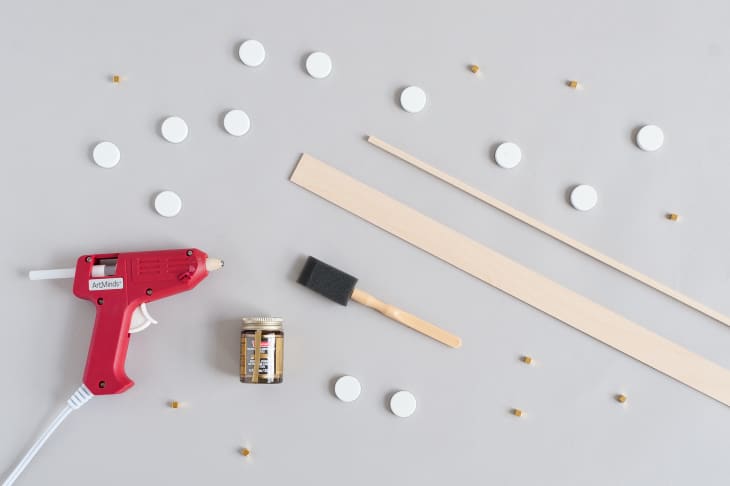
Materials (to make one display)
- 1-inch by 24-inch basswood strip
- 1/8-inch by 24-inch basswood strip
- Gold leafing paint
- 10-12 extra strong 1/2-inch magnets
- Assorted magnets for hanging your photos (I used these)
- Push pins for hanging
Tools
- Glue gun
- Paint brush
Instructions
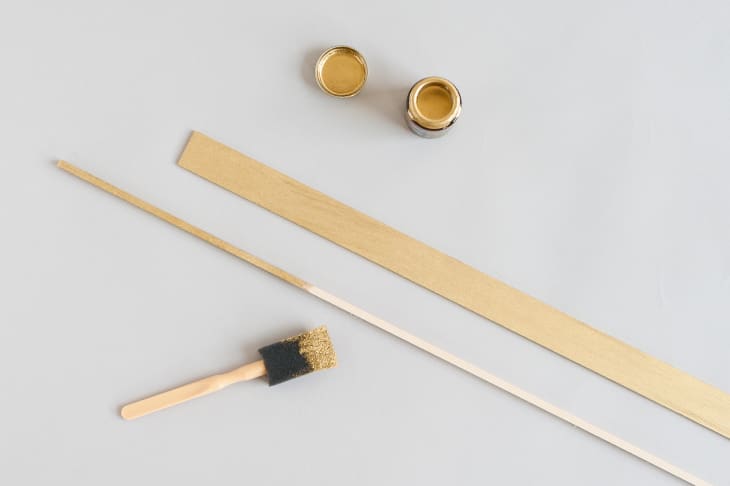
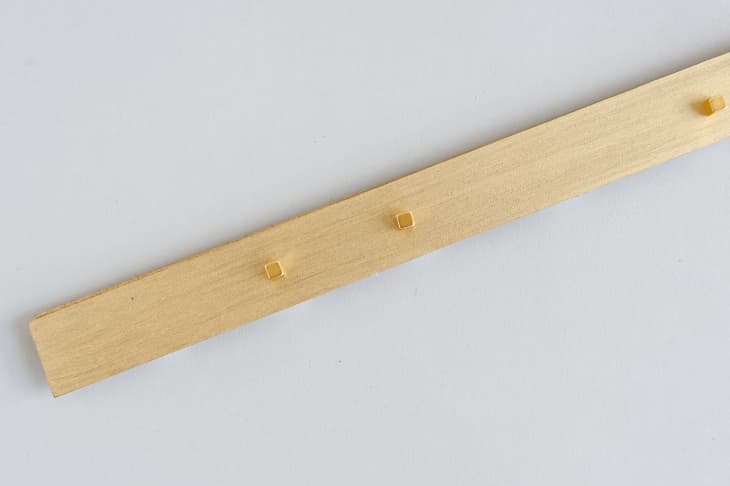
Step 1. Paint your wooden sticks using the gold leafing paint. This will give them the look of brass, without the cost or weight.
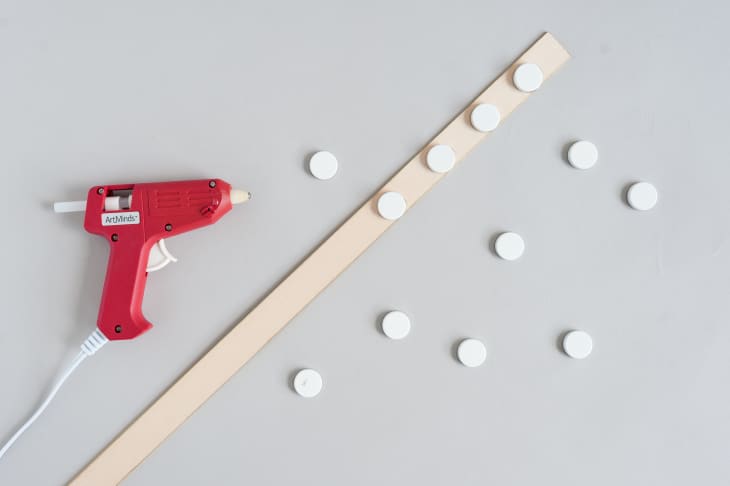
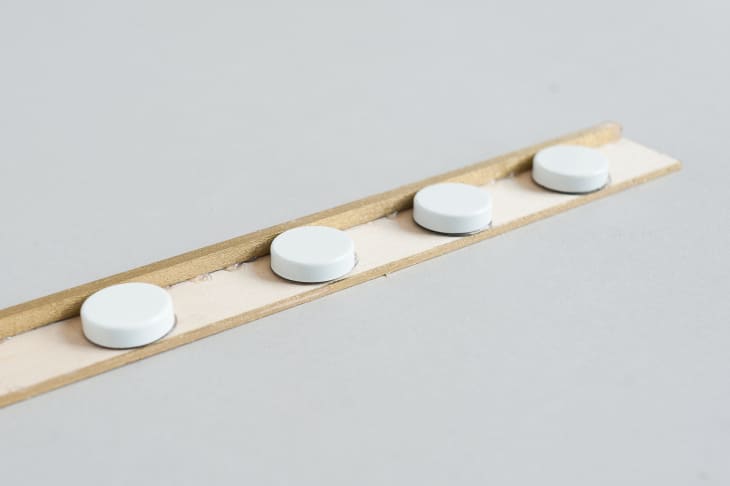
Step 2. Hot glue your extra strong magnets about every other inch along the back of the 1-inch thick stick. Make sure the magnets align with the bottom edge of the stick, leaving enough room at the top for your 1/8-inch stick.
Step 3. Hot glue the thinner stick to the back, just above the magnets. It should fit right above without showing on the front of the 1-inch stick. Then you’re all set to hang and display.
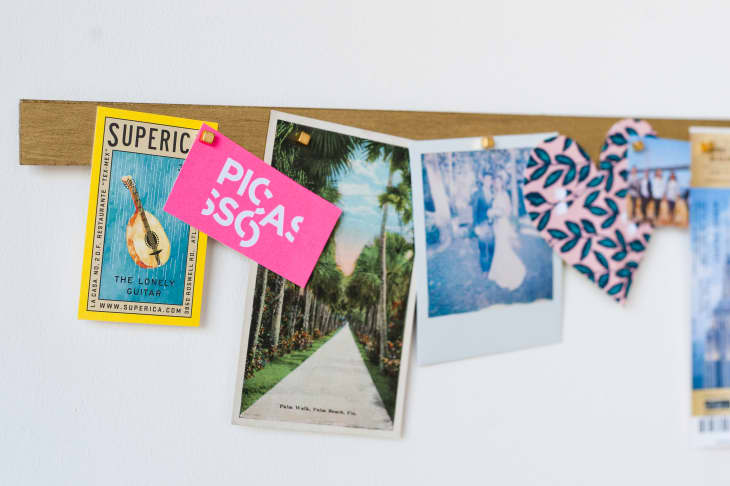
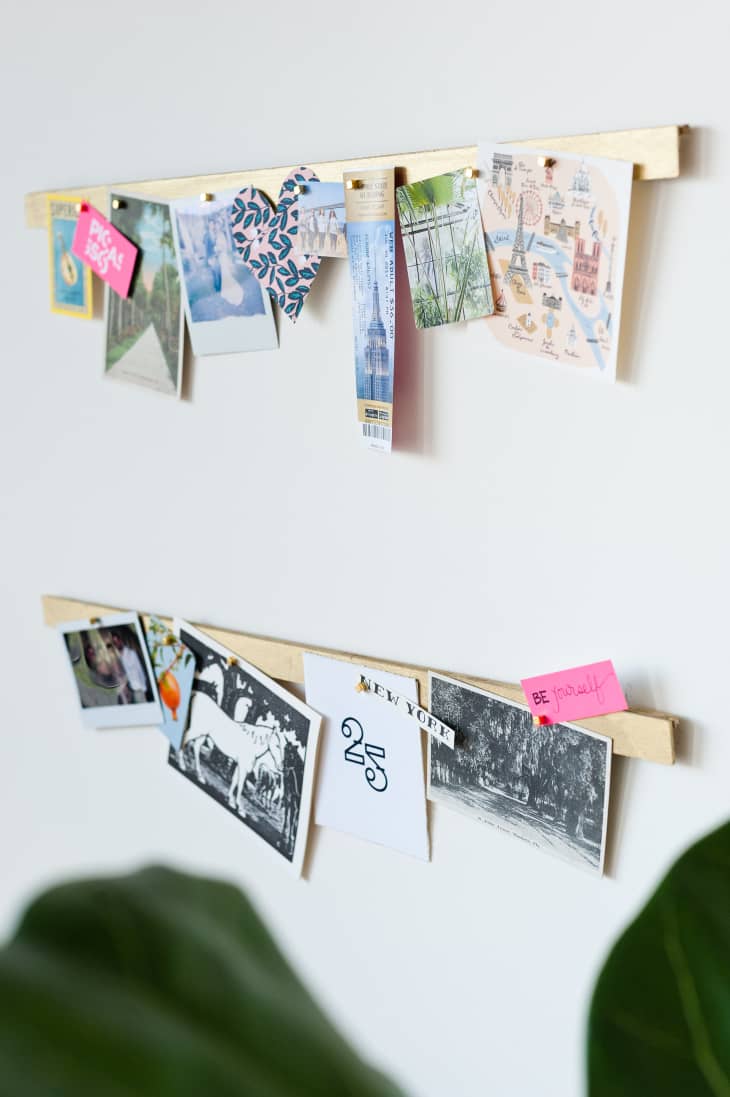
To hang, grab 2 push pins and essentially rest the smaller wood piece on top of each push pin. (You can use a level to make sure it’s level with the ground), and then add your photos using your display magnets.
Have a really great DIY project or tutorial that you want to share with others? Let us know! We love checking out what you’re making these days, and learning from our readers. When you’re ready, click here to submit your project and photos.